Life around here hasn't got any quieter since the children went back to school. I seem to be busier than ever.
I'm hoping to find my new rhythm over the next few weeks though.
I can slowly feel the particular kind of fog that accompanies taking care of a baby lifting, and with it maybe finally a sense of our new normal.
Maybe finally I can see how our family is, and maybe even a sense of the future?
Of course, there are still moments, days even. Like last weekend.
I was at a communication skills workshop, amongst friends, and not really expecting the emotions to come to the surface that did, but I'm glad I pushed myself out of my comfort zone. It's still so much of a surprise to me to see the new me. I'm not sure I like her much, but I'm getting more used to her.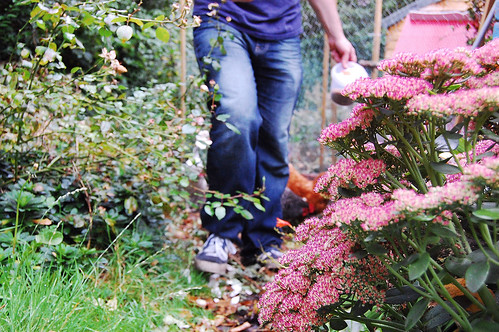
Today we have been readying the garden a little for winter, giving the chickens enclosure a good clear out and arranging things so they have more space to scratch about.
They come out to play most days now and are so cute following the shake shake of the worms in the tub.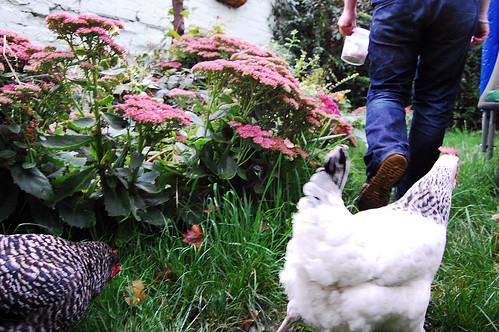
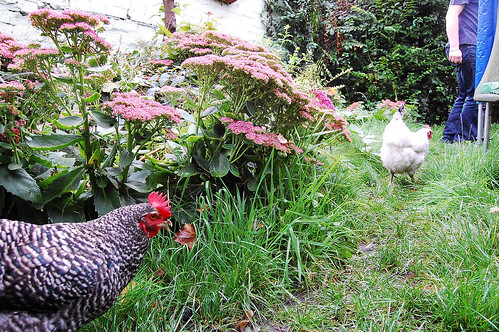
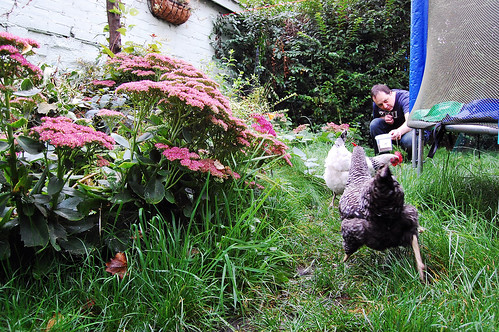
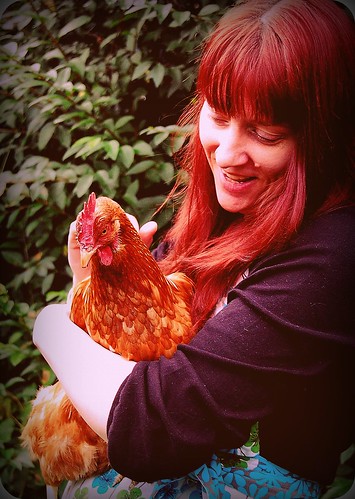
If I haven't got a baby in my arms, I've got a chicken!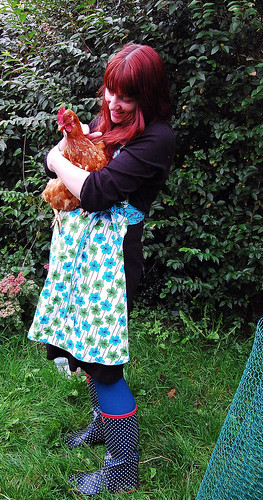
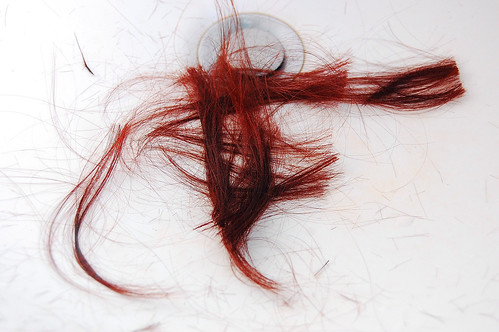
And is it weird to want my hair the same colour as Cleo's feathers?
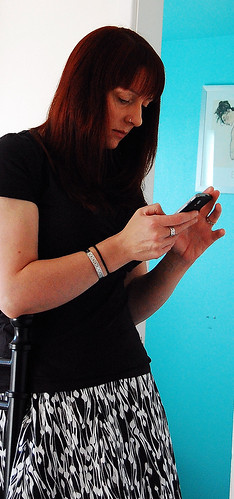
So when I heard about Skirtember I knew I was going to have to join in,(though not on facebook, my piccies are on flickr) and so far I've had fun. I do wear skirts every day, but it's nice to think a little bit more about what I'm going to wear each day and maybe even to push myself out of my comfort zone a little too. I've realised I wear an awful lot of plain black v neck t shirts with my skirts and I think I need to consider some alternatives.
I've also realised I probably need to accessorize a bit more than I currently do.
Mostly though, this little bit of frivolous fun with clothes is a nice break for my tired brain, and it's good for me too I'm sure.
To celebrate Skirtember, and to enable a few of you reading I thought I'd share my favourite way of drafting a simple A line skirt. Skirts are so easy to make, and once you've tried this simple method for drafting your own A line skirt, it's so easy to adjust your pattern to make other skirts, maybe a wrap, maybe a pleated skirt, or maybe just experiment with fabrics and applique and trims.
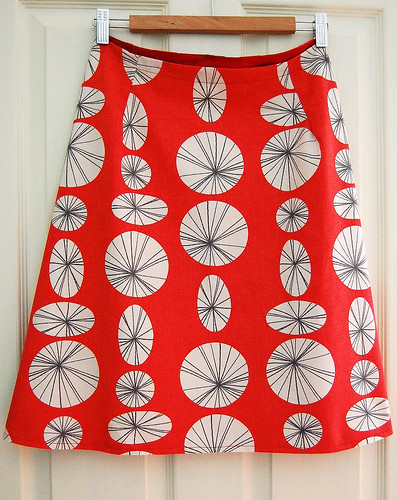
I would say these instructions are probably suitable for someone who has a little sewing experience, but if you get stuck mail me, and I'll try my best to help you out.
I should point out that this method is not exactly the "correct" method, but it works well for me, and rules are there to be broken anyway!
Making The Pattern
Materials Needed:
Dressmakers graph paper
Tracing paper
HB pencil
Ruler
Tape measure
French curve or flexible curve (optional)
Take your measurements:
a) skirt length, length you want your skirt to be
b) waist measurement .
c) hip measurement
d) waist to hip , distance vertically between waist measurement and hip measurement.
I round up any measurements just to be sure the skirt will fit, I'd rather have a skirt that's too big and needs taking in, than a skirt that's too small.
Drawing the pattern:
Using a sharp pencil and ruler transfer your measurements onto the graph paper as follows:
a skirt length
b waist measurement plus 4 cms ease, and then divided by 4 (eg: 84cm waist will become 88cm,divided becomes 22cm)
c hip plus 4cms ease divided by 4
d waist to hip
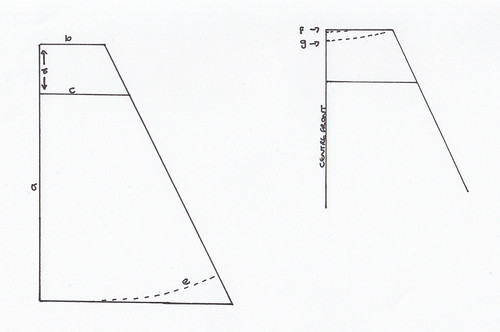
Join all measurements together.
Using your french curve/flexible ruler, or just by eye curve up the hem as shown on the diagram (e)
Again using your curve or by eye curve down the waist, (f) this is your back cutting line. Mark a further
curve approx 2.5 cms below this (g), this is your front waist cutting line.
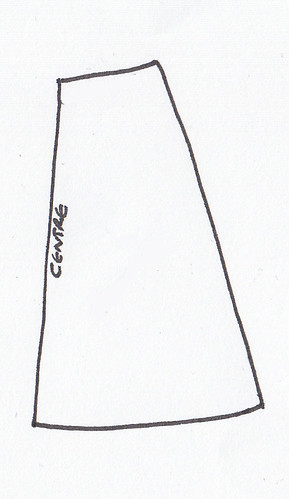
At this point trace the pattern piece into two, (one front piece and one back piece.)
Don't forget this pattern piece does not at this point include any seam or hem allowances. You can either
add these on now, or at the cutting stage.
(1.5 cm seam allowance , 2.5cm hem allowance )
You should now have two pattern pieces that look something like this:
NB Before cutting into your best piece of fabric to make your skirt, try out your pattern with some fabric you are not in love with. Even an old bedsheet will work, just in case you need to add a few cms here and there.
Making The Skirt
Materials Needed:
Approx 2 metres of your chosen fabric (for an average size 10-12)
Matching sewing thread
invisible skirt zip
bias binding
hook and eye
Cutting Out :
Press your fabric with selvedges together, and place your pattern pieces with the centre front/centre back on the fold.
Pin in place, and cut out carefully.(remember if you haven't already add your seam allowances.)
You should now have two pieces, one front and one back.
Making Up:
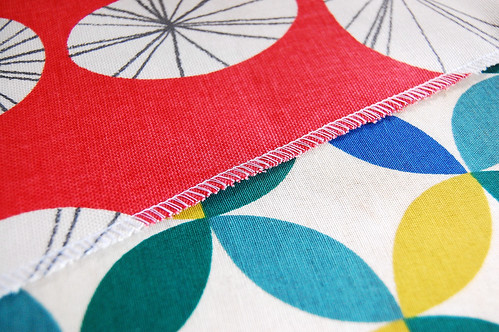
Neaten the raw seams of each side of the skirt pieces using your preferred method.
Insert the invisible zip in the left hand side seam . This you tube video explains very clearly how to do this. (and saves me the bother!)
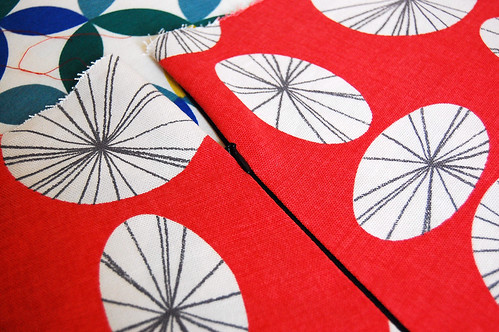
Work the side seams
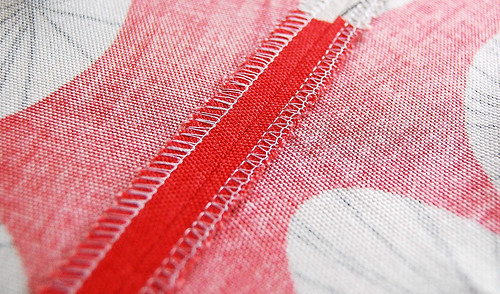
Press.
With the skirt inside out, try it on and work out where you need to add darts. Two at the front, and two at the back. You may need to get a friend to help you with this bit.You may have measured so accurately that you find you don't need darts, or perhaps just at the back of the skirt. Don't worry if this is the case, your skirt will be finished all the sooner!

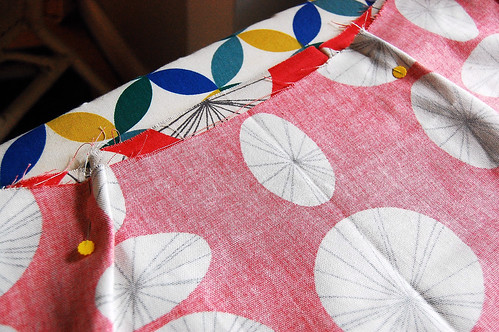
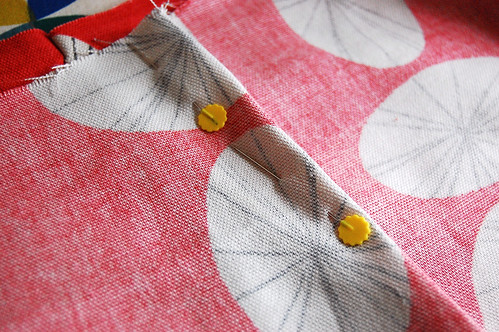
Once happy with the position of the darts, work those and press to the centre.
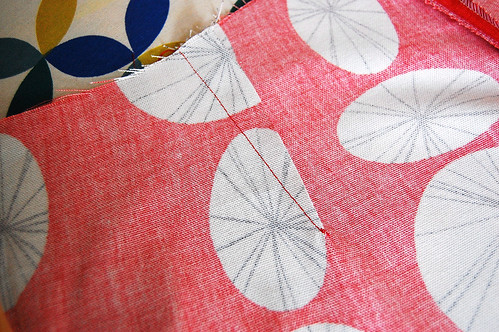
With right sides together sew the bias binding to the waist edge, and press, tucking in the raw edges at either end.
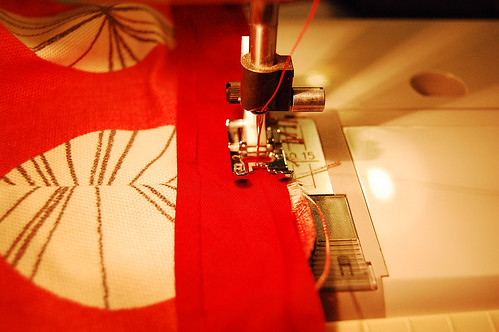
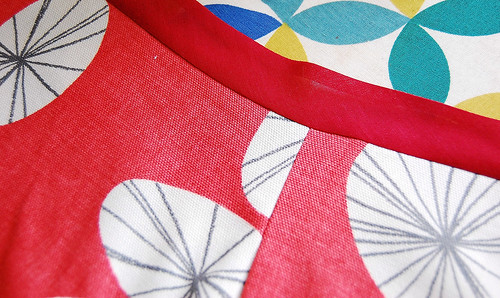
Stitch binding in place.
Press
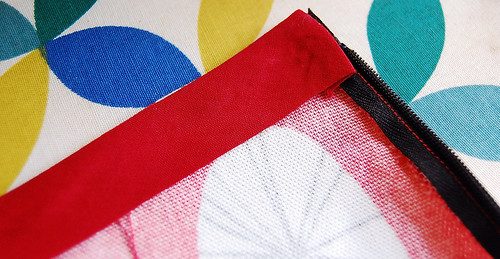
Add hook and eye fastening.
Work hem. Press
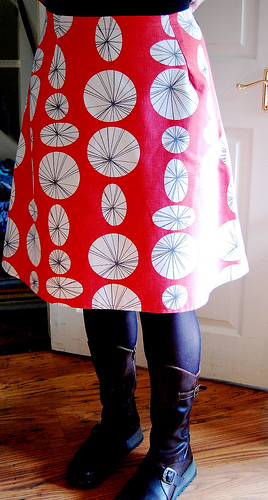
Your skirt is now complete, but why not add some detail? Maybe a patch pocket, applique or trim. Use your imagination and have fun!
My Dad would've turned 70 today. 70!! I can't even imagine him as such an old man, he died when he was only 46.
Happy Birthday Dad, love you. x
And this is the photo I just sent to Woody...just waiting for the phone call.....
I woke up this morning to glorious September sunshine, and decided I needed a change.
While sipping my morning cuppa and catching up with blogland I was reminded that Cedar over at The Vintage housewife had today added my little blog button to her sidebar.
Browsing around her lovely blog, I came upon this tutorial to cut your own fringe, and since I've been wanting a fringe for a while,I thought "why not?".
I always used to cut my own hair when I was younger, and I'm not really precious about my hair,so I fished out the scissors.
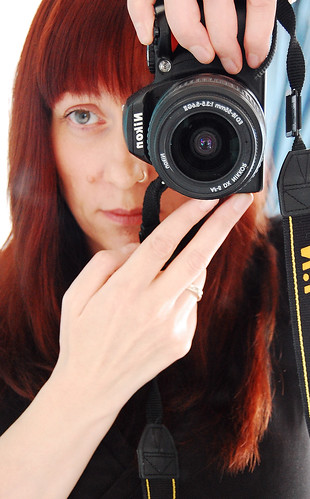
It's really hard to photograph your own hair without looking sort of ridiculous,so this is the best I could manage. You'll just have to take my word for it, that actually the fringe kinda works...just don't look too closely, especially if you are a hairdresser!!