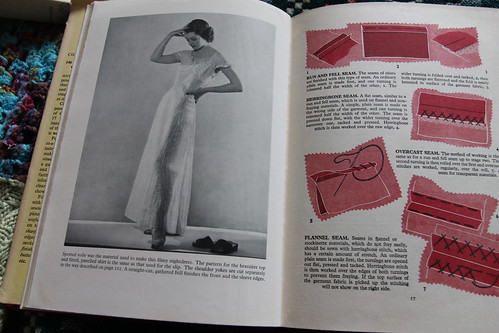
My favourite seams to use particularly on childrens wear are french seams.The french seam has all raw edges enclosed and is ideal for lightweight fabrics, especially lingerie, nightwear or childrens wear, when comfort is of paramount importance, especially when seams are next to delicate skin.
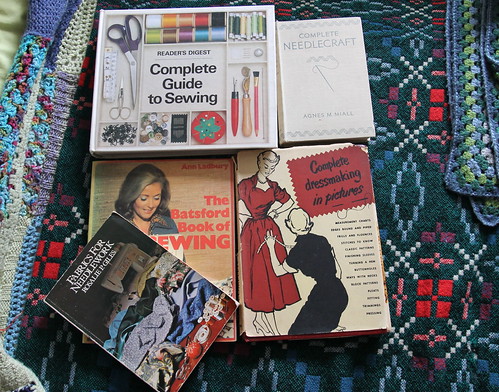
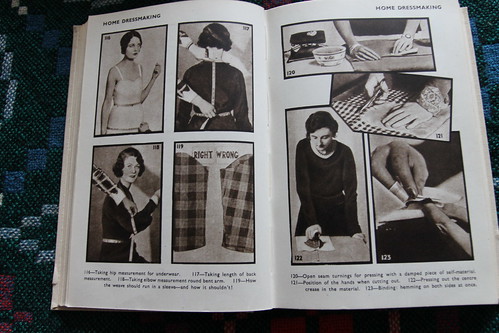
I use french seams in all of these situations, but also when sewing lightweight blouses like my recent Banksia Top. If you like to sew vintage, a french seam is a useful skill to have.
This seam is ideal to use with my Flossie's Pinafore pattern, and with the free tutorial for matching Baby Bloomers.
If you'd like to be in with a chance of winning a Flossie's Pinafore pattern, take a look here.
When I first learned to sew any seams, I measured, pinned and tacked at every stage. It wasn't until I was in sixth form and studying for A Level needlework that my teacher allowed me to skip this stage. I haven't included that preperation in my tutorial, because I think I know most people are going to skip it anyway...you naughty lot!
I would say though, if you are an absolute beginner, measuring, pinning and tacking at each stage are worth it in the long run. Good preperation never hurt anyone.
French Seams:
1: Starting with fabric wrong sides together (often referred to as ws tog )

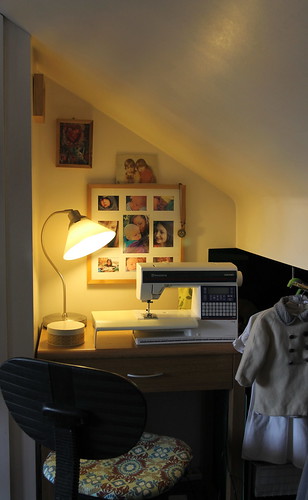
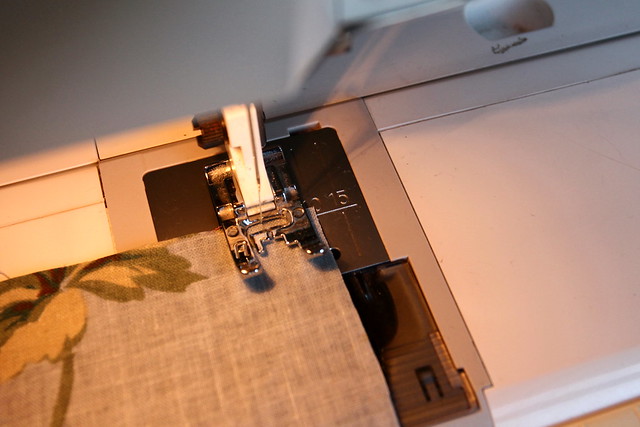
2: Using the guides on your sewing machine footplate, sew a 10mm seam. (If your machine does not have these markings, you can measure the required amount and use masking tape to make the marking on the footplate.

3: Trim your seam allowance to 3mm


4: Press seam open.

5: Turn fabric right sides together ( rs tog ) Press again.

6: This time using the notched markings on your presser foot sew a 5mm seam. ( Again you can mark 5mm on your machine footplate if your presser foot does not have the correct measured markings. )

7: Press.
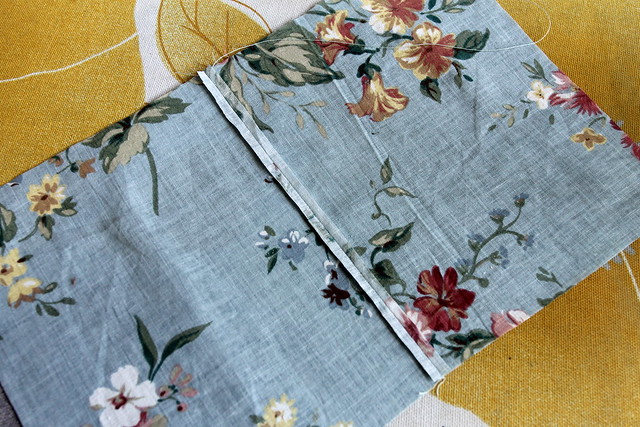
Wrong side:

Right side:

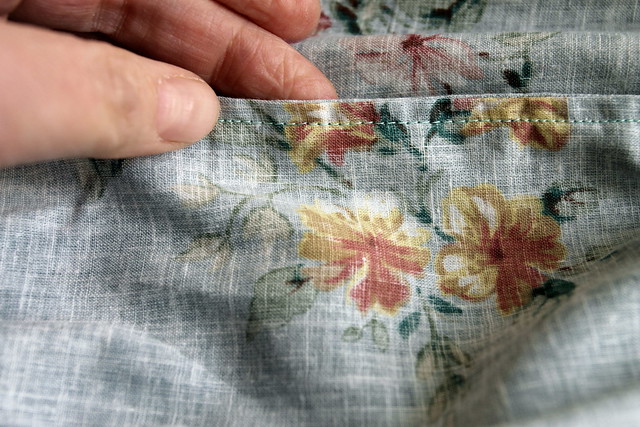
Close up of wrong side:
I use french seams in all of these situations, but also when sewing lightweight blouses like my recent Banksia Top. If you like to sew vintage, a french seam is a useful skill to have.
This seam is ideal to use with my Flossie's Pinafore pattern, and with the free tutorial for matching Baby Bloomers.
If you'd like to be in with a chance of winning a Flossie's Pinafore pattern, take a look here.
When I first learned to sew any seams, I measured, pinned and tacked at every stage. It wasn't until I was in sixth form and studying for A Level needlework that my teacher allowed me to skip this stage. I haven't included that preperation in my tutorial, because I think I know most people are going to skip it anyway...you naughty lot!
I would say though, if you are an absolute beginner, measuring, pinning and tacking at each stage are worth it in the long run. Good preperation never hurt anyone.
French Seams:
1: Starting with fabric wrong sides together (often referred to as ws tog )
2: Using the guides on your sewing machine footplate, sew a 10mm seam. (If your machine does not have these markings, you can measure the required amount and use masking tape to make the marking on the footplate.
3: Trim your seam allowance to 3mm
4: Press seam open.
5: Turn fabric right sides together ( rs tog ) Press again.
6: This time using the notched markings on your presser foot sew a 5mm seam. ( Again you can mark 5mm on your machine footplate if your presser foot does not have the correct measured markings. )
7: Press.
Wrong side:
Right side:
Close up of wrong side: