Autumn has been stunning this year, and until quite recently really quite warm. I was still working out in my shed, (I really should start calling it my studio, but can't quite bring myself to do it.) without the need for any heating until just a couple of weeks ago, I'd put off insulating too, and then it got very cold.
Last weekend I spent all day Sunday cutting and slotting polystyrene insulating boards into the spaces between each wooden baton on the shed walls and roof. I also laid some left over floor insulation Woody found in the cellar, under my rug.
There was a noticeable improvement immediately.
During the week I managed (despite the household being struck down by various wintery bugs) to run up a curtain for the shed door, using some curtain lining and a vintage tablecloth bought in the local charity shop.
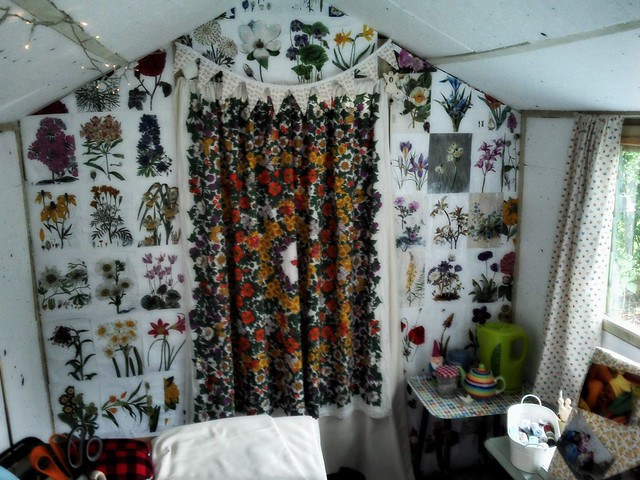
Today, I went out to the shed armed with PVA, a big brush and a pile of botanical prints I'd torn from old diaries, and had been saving for several years, and decorated one wall of the shed. The wall I face when sat at my sewing machine. I know these prints will inspire me as I work.
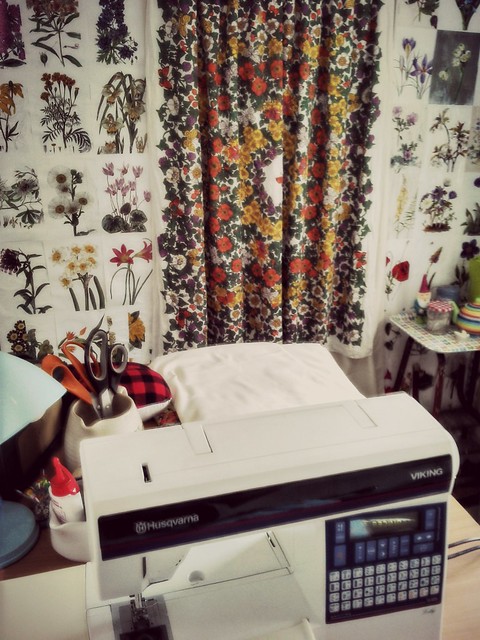
I'm still left with three rather boring white polystyrene walls, but I have a plan for at least one of them.
I think the ceiling will stay white polystyrene, at least for now, but I might search out a carpet remnant for the floor. The insulation on the floor and the rug are ok, but my shoes off policy in the shed means I could do with something warmer underfoot, and possibly some shed slippers...I've been dropping hints considering the big fat man is due next month!
I'm also dreaming of installing a little pot bellied stove. I use an electric heater at the moment, but I'm concerned about the cost. I'm going to have to save up for a stove though, and I'm probably pushing my luck expecting the fat man to bring me one of those.
After decorating this morning I've spent a lovely cosy day tucked away in my shed, catching up with a bit of dull, and rather lazy sewing. A pair of lounge pants and matching head scarf , and a new skirt.
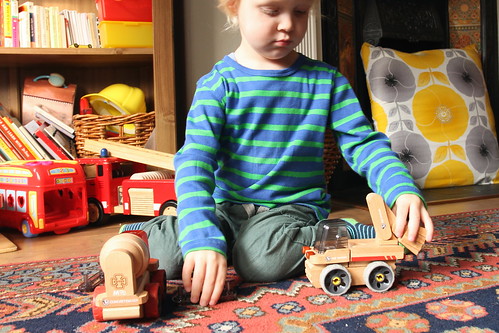
A couple of weeks ago Merry asked me if Ernest and my mindee would like to test out these MagnaMobiles toys. We leapt at the chance!
Both boys were so excited when the box arrived from Play Merrily, and were thrilled to find inside the MagnaMobiles Fire Engine and Concrete Mixer.
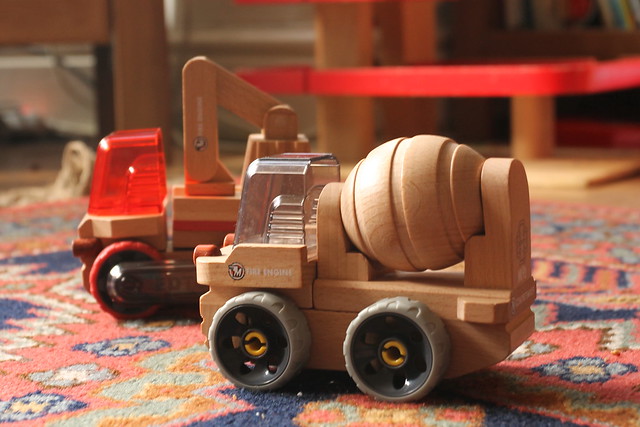
The concrete mixer especially was much admired. The boys didn't take long to discover the vehicles came apart and they happily switched parts between vehicles, making two different vehicles.
We've had these here for just over a week now, and the boys keep going back to them to play. I've even spotted Sid having a sneaky play when he thought no one was watching.
The toys are beautifully constructed, tactile and easy for small hands to pull apart and fix back together again.
Ernest has even taken parts from the vehicles and used them in other areas of imaginative play...the mixer section for example became a "magic machine" for one of Ernest's imaginery friends.
I can see us adding more of these to our toy cupboard.
Disclaimer: We received both of these vehicles free of charge for review.
Both boys were so excited when the box arrived from Play Merrily, and were thrilled to find inside the MagnaMobiles Fire Engine and Concrete Mixer.

The concrete mixer especially was much admired. The boys didn't take long to discover the vehicles came apart and they happily switched parts between vehicles, making two different vehicles.
We've had these here for just over a week now, and the boys keep going back to them to play. I've even spotted Sid having a sneaky play when he thought no one was watching.
The toys are beautifully constructed, tactile and easy for small hands to pull apart and fix back together again.
Ernest has even taken parts from the vehicles and used them in other areas of imaginative play...the mixer section for example became a "magic machine" for one of Ernest's imaginery friends.
I can see us adding more of these to our toy cupboard.
Disclaimer: We received both of these vehicles free of charge for review.
The third and final part of this mini series, is adding an inseam pocket to your skirt. These instructions will work for adding in seam pockets to any skirt.
Click here for parts one and two.
(Though, please remember adding in seam pockets can alter the look of a skirt, so think carefully before adding them to a straight or A line skirt.)
Start by placing your pocket piece right sides together with your skirt front panel, matching markings or notches. Here I have used markings on the fabric.
Pin and tack in place.
Machine stitch between the markings with a 1cm seam allowance.
Press flat.
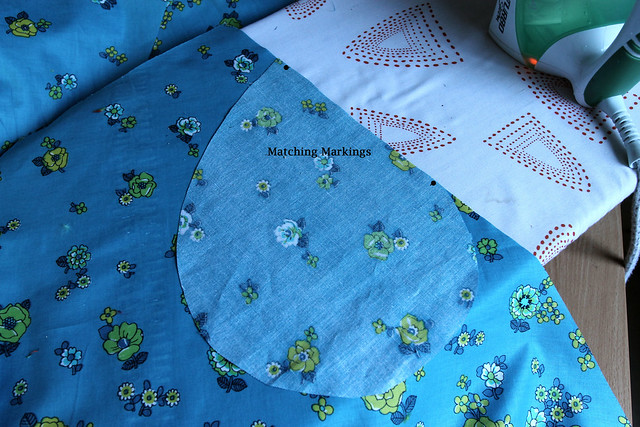
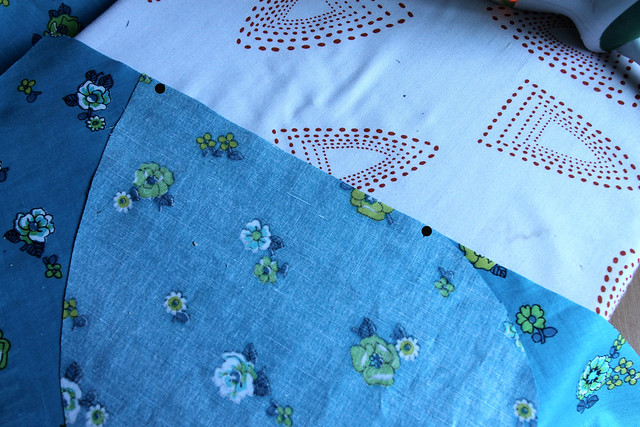
Trim carefully to stich line at markings. Neaten pocket seam in your preferred way. Here I have used my overedge stitch on the sewing machine, stiching seam edges together.
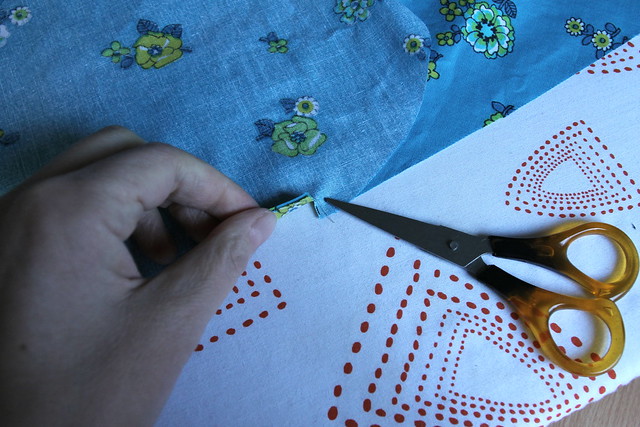
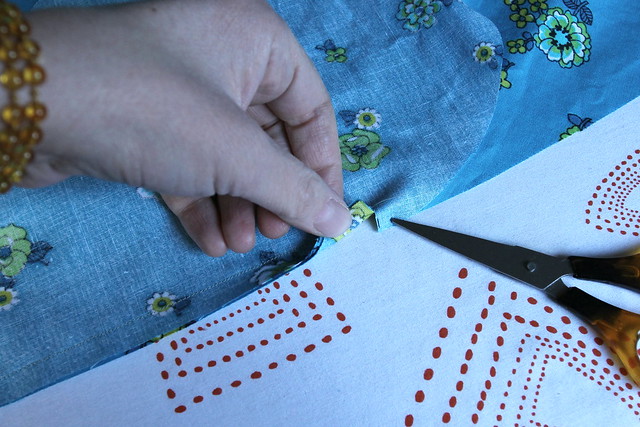
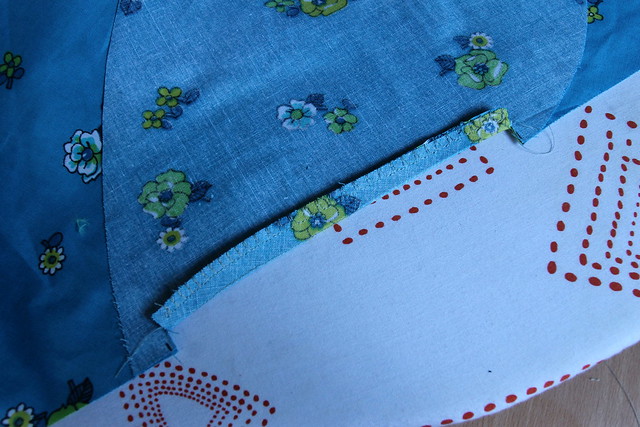
Press seam to the front.
Repeat all steps for skirt back panel, but press seam to the back. This reduces bulk .
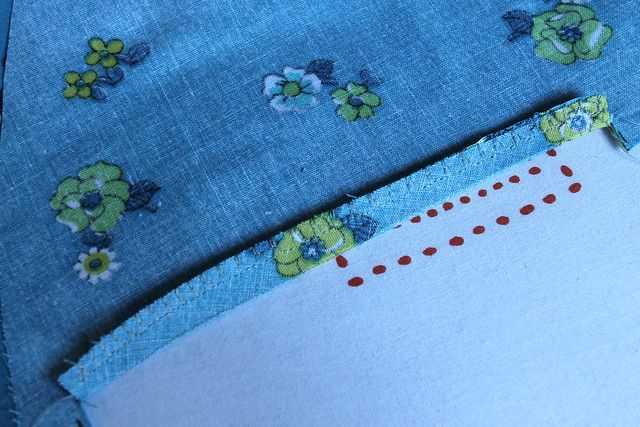
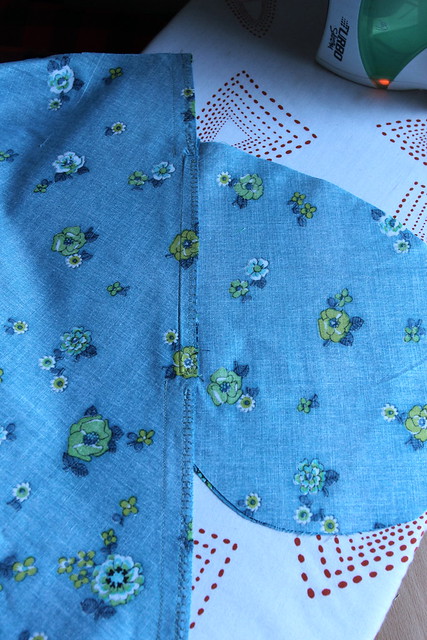
Pin and tack skirt seam above and below pocket opening. Stich a 1.5cm seam allowance, backstitching at pocket edge. Neaten and press.
Pin and tack pocket pieces together. Stich a 1.5cm seam allowance. Neaten and press.
Clip corners to reduce bulk.
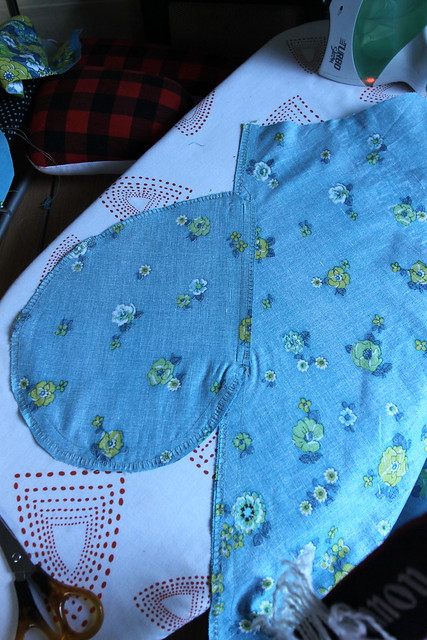
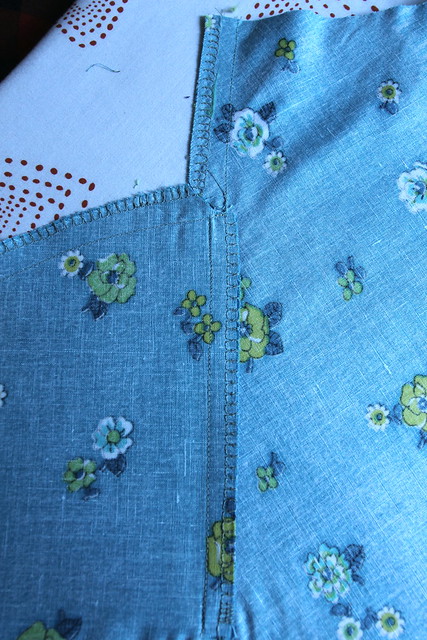
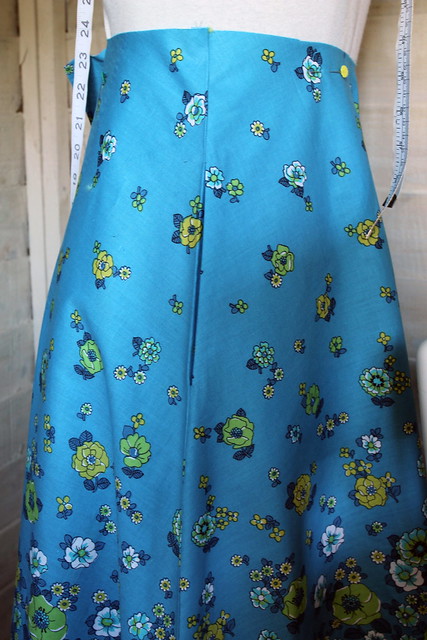
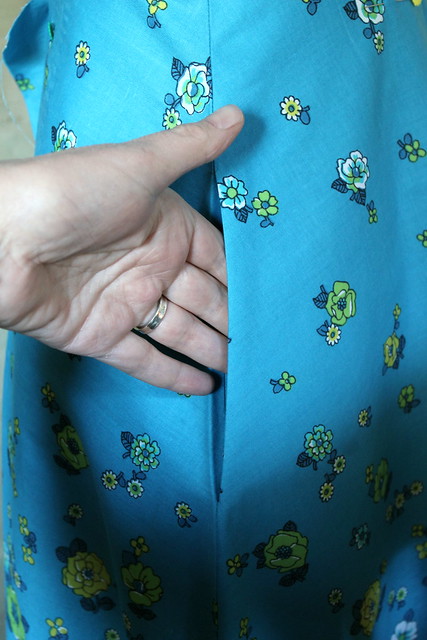
Press well. Here I have pressed the side seams to the back of the skirt.
(Though, please remember adding in seam pockets can alter the look of a skirt, so think carefully before adding them to a straight or A line skirt.)
Start by placing your pocket piece right sides together with your skirt front panel, matching markings or notches. Here I have used markings on the fabric.
Pin and tack in place.
Machine stitch between the markings with a 1cm seam allowance.
Press flat.


Trim carefully to stich line at markings. Neaten pocket seam in your preferred way. Here I have used my overedge stitch on the sewing machine, stiching seam edges together.


Press seam to the front.
Repeat all steps for skirt back panel, but press seam to the back. This reduces bulk .


Pin and tack skirt seam above and below pocket opening. Stich a 1.5cm seam allowance, backstitching at pocket edge. Neaten and press.
Pin and tack pocket pieces together. Stich a 1.5cm seam allowance. Neaten and press.
Clip corners to reduce bulk.


Press well. Here I have pressed the side seams to the back of the skirt.


Once you have drafted your wrap skirt pattern pieces as described in part one, you are ready to put together your skirt.
I made my skirt with inseam pockets, but the skirt is even easier without.The following instructions are brief and assume some basic sewing knowledge. I will however, describe in detail how to add inseam pockets in part three.
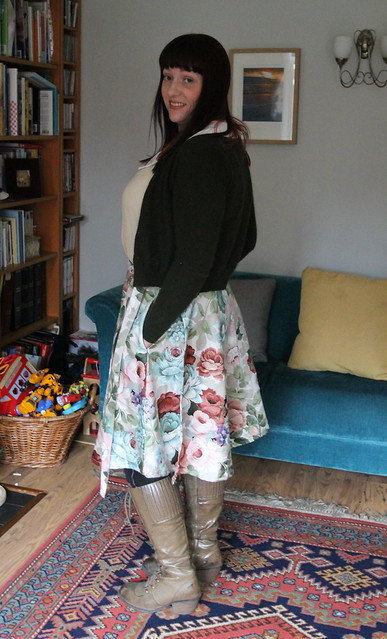
For this skirt I prefer the wrap to be at the back. I have two other skirts in my wardrobe that wrap at the back, both made from the skirt pieces of Crepe by Colette Patterns.
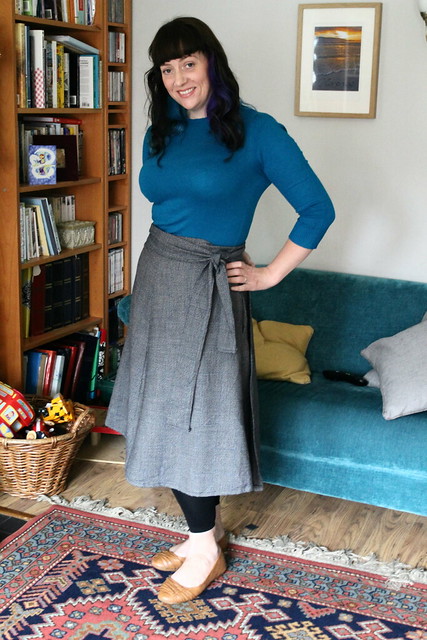

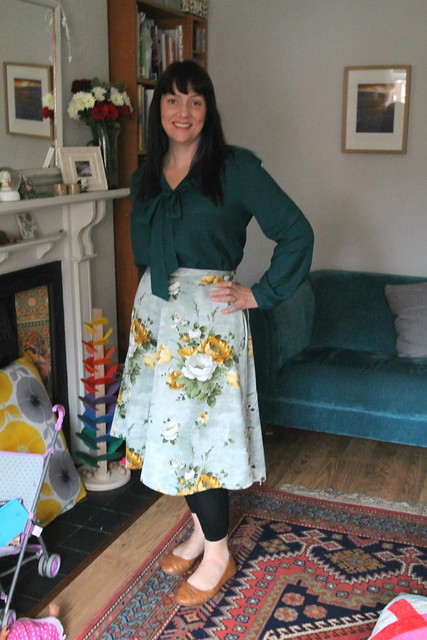
I particularly love my floral skirt, and wanted to replicate that but shorter with this skirt.
There are no rules though, if you want your skirt to wrap at the front that will work. You could even change your mind day to day as all three pattern pieces making up the skirt are identical.
For the sake of these brief instructions we will call the centre skirt panel the front.
Remember if you want to add inseam pockets, I will be covering the instructions for adding them in part three.
For a skirt without inseam pockets:
Start by sewing each skirt panel together. With right sides together sew one skirt back panel to the skirt front panel, press, neaten the seam edges and repeat with the second skirt back panel.
You now have three skirt panels sewn together and can wrap the skirt around your body.
Next turn and press 5mm on each side (back) panel, then a further 1cm, to neaten the side edges of the skirt.
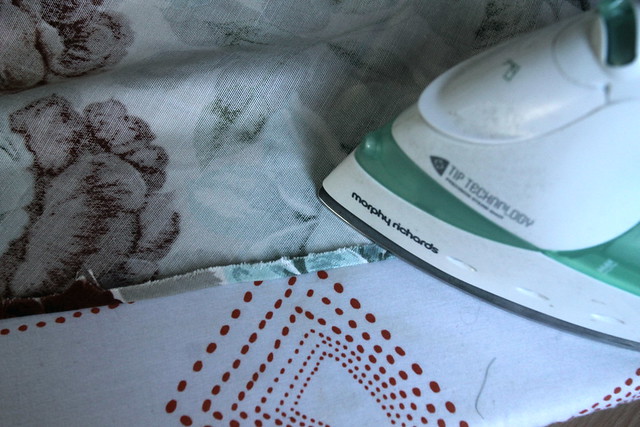
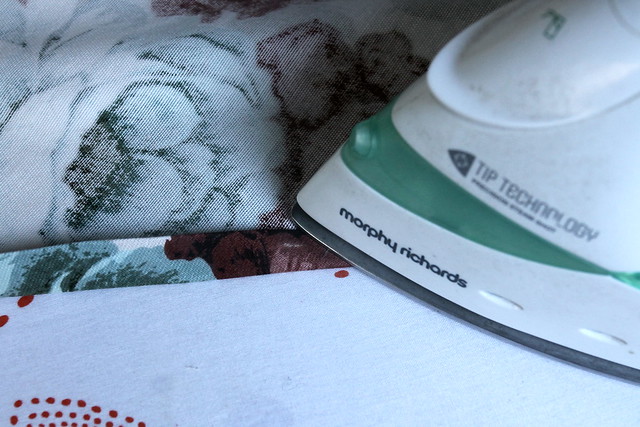
Machine stitch the turning.
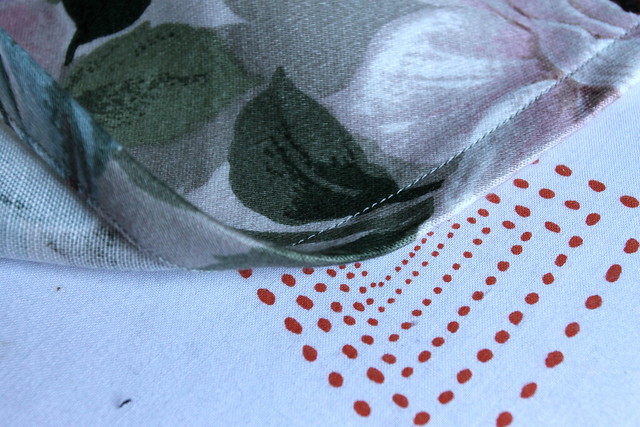
Matching the centre front of your waistband/waist tie to the centre front of the skirt, pin and tack in place.
Stitch the waistband/waist tie in place along the top edge of the skirt with a 1cm seam allowance, press seam allowance upwards, also pressing in all the edges of the waist tie by 1cms.
Press in the raw edges at the end of the waist tie, and then press the waist tie in half lengthwise, encasing all raw edges. Pin and tack in place before top stitching.
You now have a skirt with a waist tie. You can simply wrap and tie the skirt like this, but I like to add a buttonhole in the waistband in line with the side seam through which to thread the waist tie.
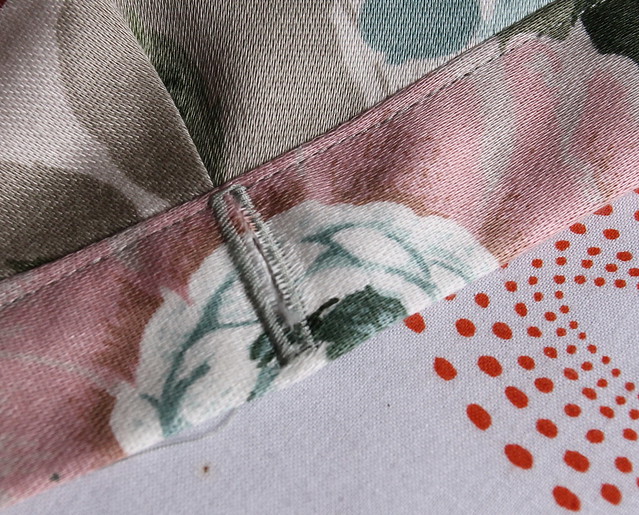
Finally, you need to hem your skirt. If it is a full skirt it is wise to leave the skirt hanging overnight before hemming to allow the fabric to fall under it's own weight and level off naturally.
Stitch your hem using your preferred method. I machine stitched this hem, but had I more time I would have hand stitched.
I can highly recommend this tutorial for hemming a full or circle skirt by machine.
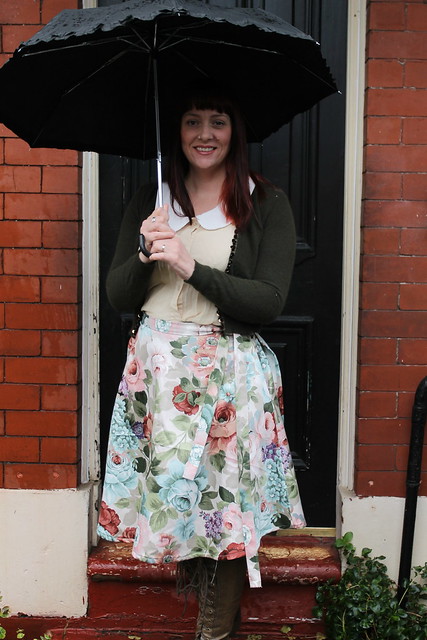
Stitch the waistband/waist tie in place along the top edge of the skirt with a 1cm seam allowance, press seam allowance upwards, also pressing in all the edges of the waist tie by 1cms.
Press in the raw edges at the end of the waist tie, and then press the waist tie in half lengthwise, encasing all raw edges. Pin and tack in place before top stitching.
You now have a skirt with a waist tie. You can simply wrap and tie the skirt like this, but I like to add a buttonhole in the waistband in line with the side seam through which to thread the waist tie.

Finally, you need to hem your skirt. If it is a full skirt it is wise to leave the skirt hanging overnight before hemming to allow the fabric to fall under it's own weight and level off naturally.
Stitch your hem using your preferred method. I machine stitched this hem, but had I more time I would have hand stitched.
I can highly recommend this tutorial for hemming a full or circle skirt by machine.

I do like a wrap skirt, they are simple to make,comfortable and most importantly still fit after you've eaten all your toddler's left over Halloween treats! ( I was doing him a favour eating it right? )
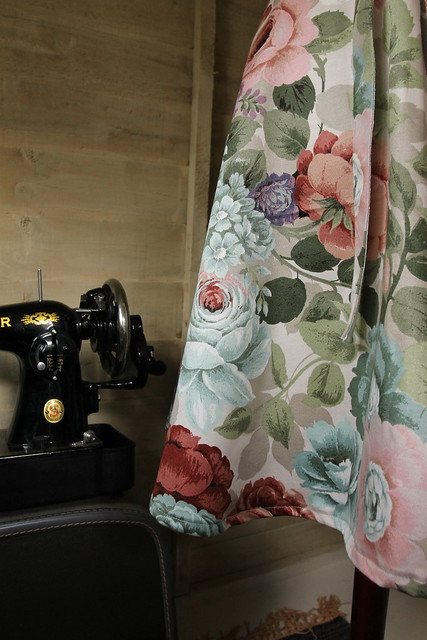
Making your own wrap skirt pattern is so easy. Start by following my basic skirt drafting tutorial.
Once you have your basic skirt pattern, there are so many ways you can use that as a starting point for many styles of skirt.
Take your skirt piece ( I would use the front piece.), and if you are happy with the shape of the basic skirt pattern, there is no need to change anything. Just cut out three pattern pieces instead of the usual two.
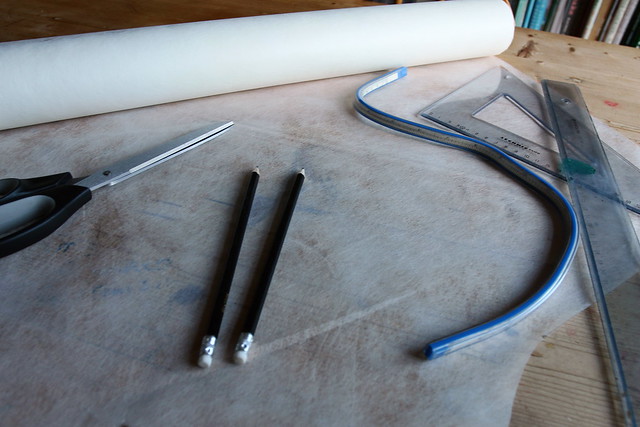
If however like me, you want to have a fuller skirted wrap, then gather together your pattern drafting materials:
pencils,pens.
ruler
set square,
flexible curve/french curve
scissors
pins
tracing paper (I prefer fabribaste/swedish tracing paper)
Take your basic skirt pattern piece, and cut up the centre, then spread.
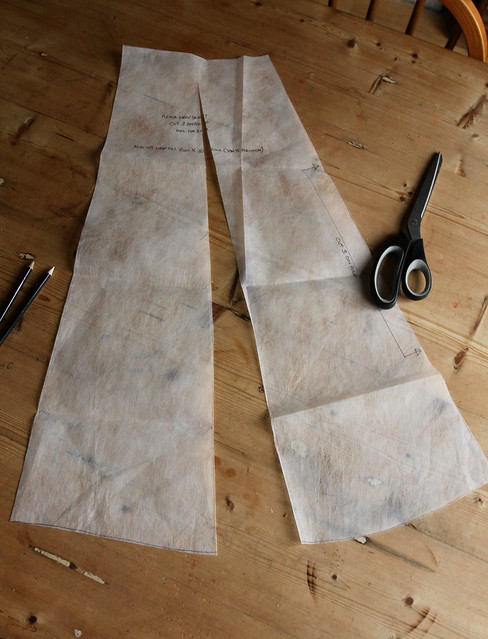
Pin this piece to your tracing paper and mark carefully the curve of the hem.
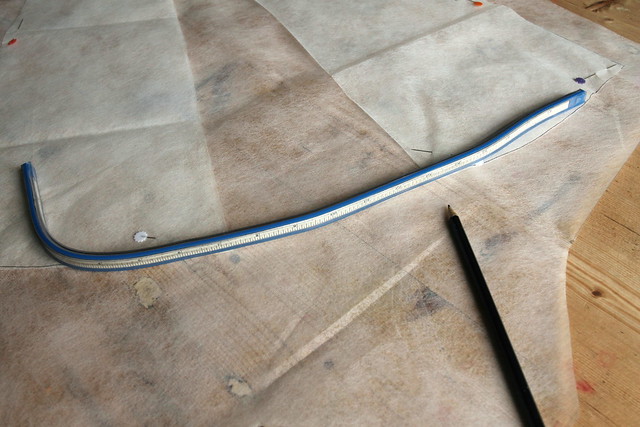
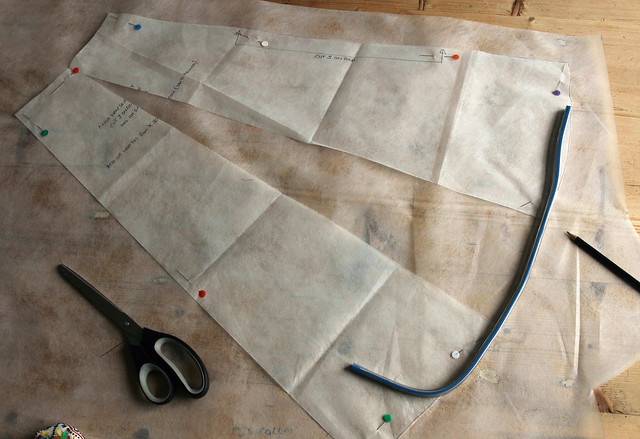
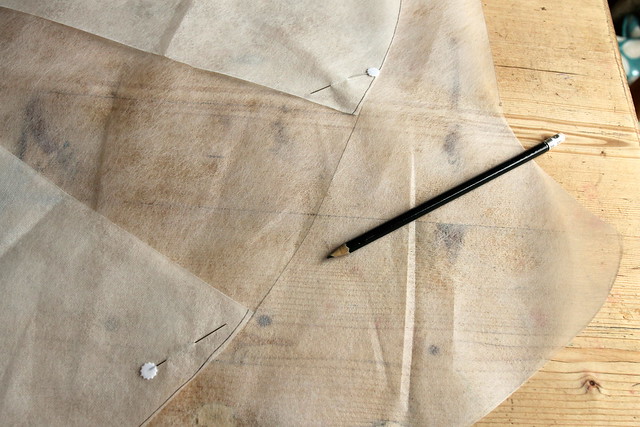
Cut out your new pattern piece.
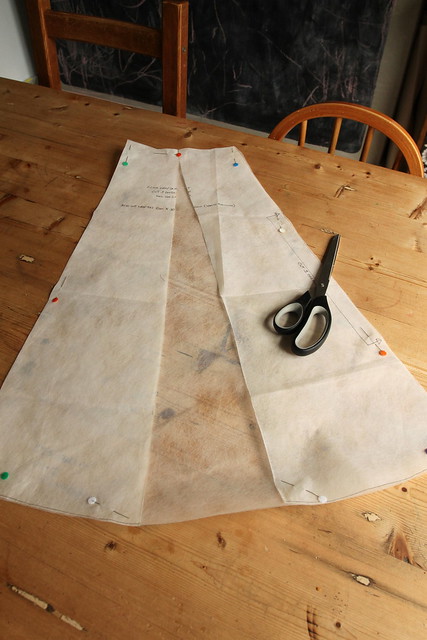
Remove your basic skirt piece, and mark the new pattern piece with grainlines and details of the pattern. In this case I have the piece to be cut on the fold, just as my basic piece. (You can experiment with cutting on the bias if that suits your chosen fabric, for example a silk with a good drape for an elegant evening skirt)
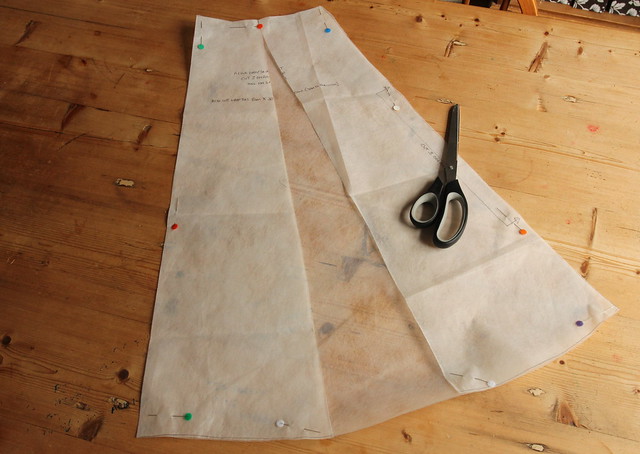
I wanted to add pockets to my skirt, so I marked where I wanted the pockets to be on my pattern piece.
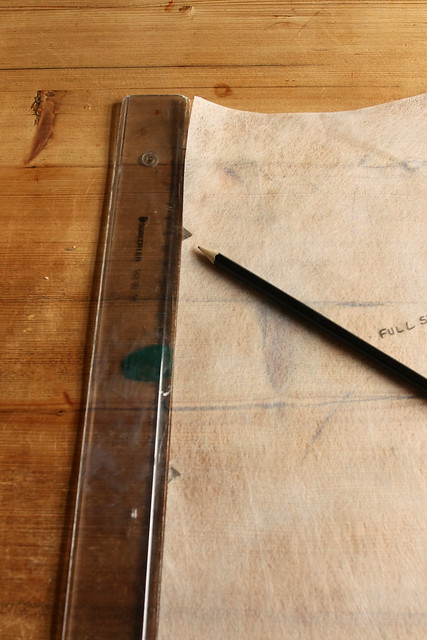
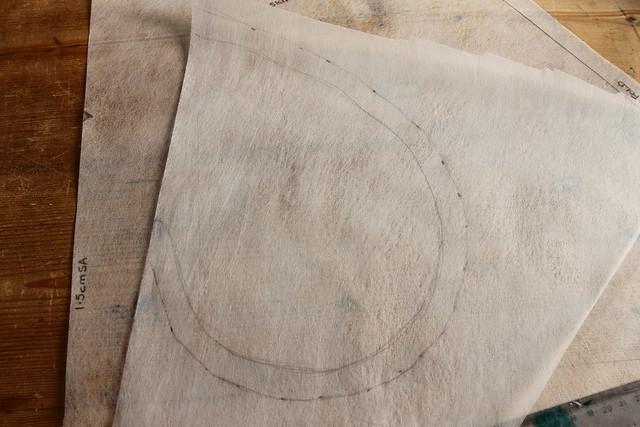
I then lay over an extra piece of tracing paper and drew in my pocket shape to make my pocket pattern piece.

Adding 1.5cm seam allowance after drawing the shape.
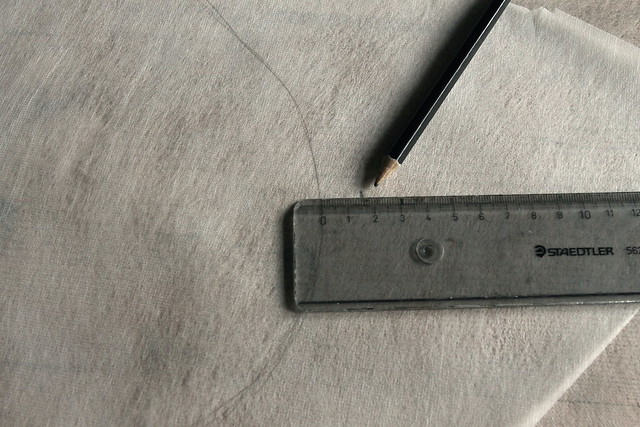
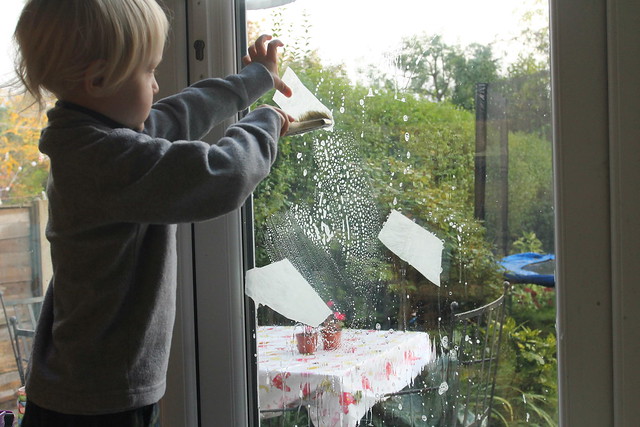
Meanwhile Ernest was busying himself sticking offcuts of fabribaste to the patio doors with soapy water.
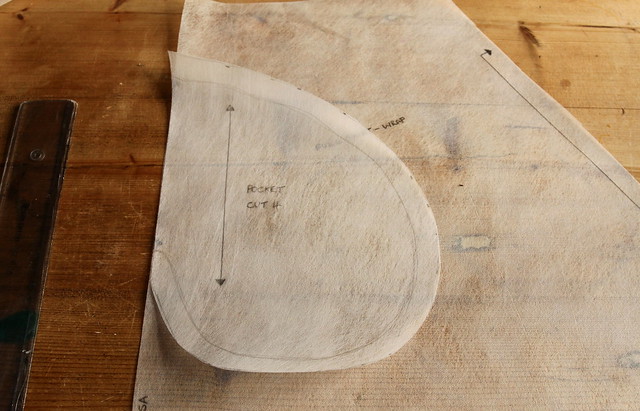
I then cut out the pocket piece. (The eagle eyed amongst you may notice I have not included matching notches to match the pocket up to the notches on the skirt pattern. I really should have done, but I will instead match the edges of each pocket piece to the notches on the skirt pattern, minus the seam allowance.)
Once all the pattern pieces are made, pin the pieces to the chosen fabric and cut out. (For an average size 12 about 2 metres of fabric is enough)
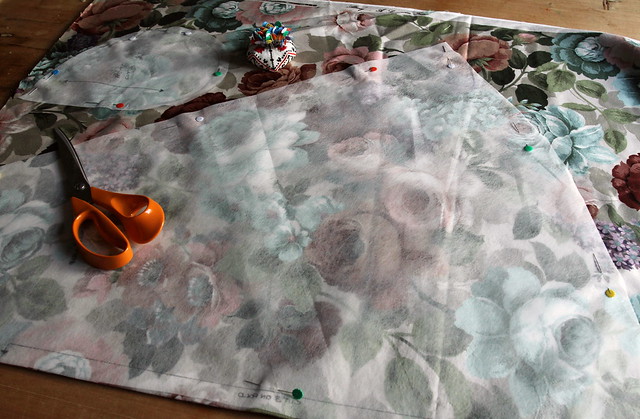
Three skirt pieces are needed, front, back and wrap piece. Two pockets (optional) and a waist tie. For this skirt I cut a waist tie 8cm in depth by 300cm in length. (Or rather I cut two 150cm lengths and joined them in the centre as that was all my fabric would allow.)
The next step is to construct the skirt, which I will detail in Part Two....
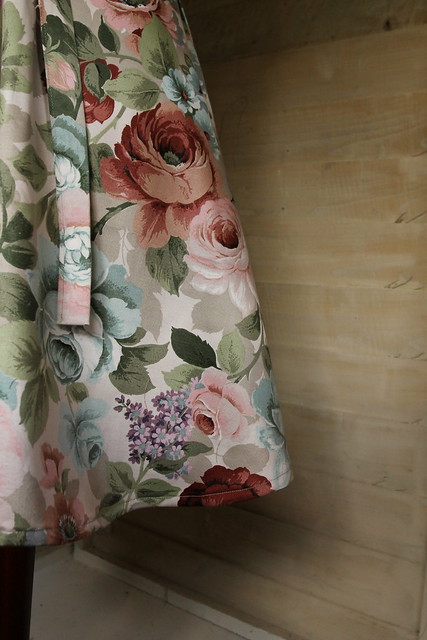

Making your own wrap skirt pattern is so easy. Start by following my basic skirt drafting tutorial.
Once you have your basic skirt pattern, there are so many ways you can use that as a starting point for many styles of skirt.
Take your skirt piece ( I would use the front piece.), and if you are happy with the shape of the basic skirt pattern, there is no need to change anything. Just cut out three pattern pieces instead of the usual two.
If however like me, you want to have a fuller skirted wrap, then gather together your pattern drafting materials:
pencils,pens.
ruler
set square,
flexible curve/french curve
scissors
pins
tracing paper (I prefer fabribaste/swedish tracing paper)

Take your basic skirt pattern piece, and cut up the centre, then spread.

Pin this piece to your tracing paper and mark carefully the curve of the hem.


Cut out your new pattern piece.

Remove your basic skirt piece, and mark the new pattern piece with grainlines and details of the pattern. In this case I have the piece to be cut on the fold, just as my basic piece. (You can experiment with cutting on the bias if that suits your chosen fabric, for example a silk with a good drape for an elegant evening skirt)

I wanted to add pockets to my skirt, so I marked where I wanted the pockets to be on my pattern piece.

I then lay over an extra piece of tracing paper and drew in my pocket shape to make my pocket pattern piece.

Adding 1.5cm seam allowance after drawing the shape.


Meanwhile Ernest was busying himself sticking offcuts of fabribaste to the patio doors with soapy water.

I then cut out the pocket piece. (The eagle eyed amongst you may notice I have not included matching notches to match the pocket up to the notches on the skirt pattern. I really should have done, but I will instead match the edges of each pocket piece to the notches on the skirt pattern, minus the seam allowance.)

Once all the pattern pieces are made, pin the pieces to the chosen fabric and cut out. (For an average size 12 about 2 metres of fabric is enough)

Three skirt pieces are needed, front, back and wrap piece. Two pockets (optional) and a waist tie. For this skirt I cut a waist tie 8cm in depth by 300cm in length. (Or rather I cut two 150cm lengths and joined them in the centre as that was all my fabric would allow.)
The next step is to construct the skirt, which I will detail in Part Two....


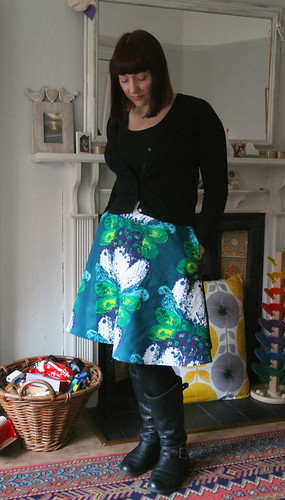
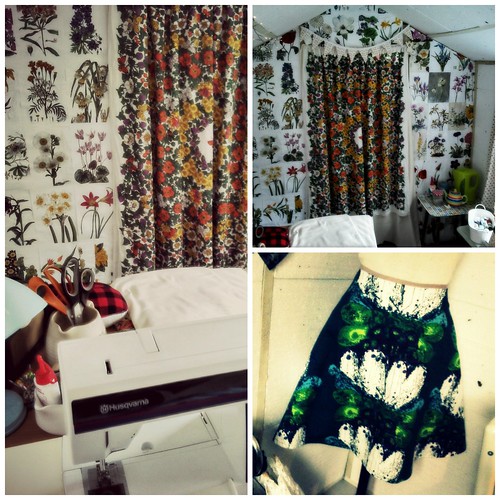
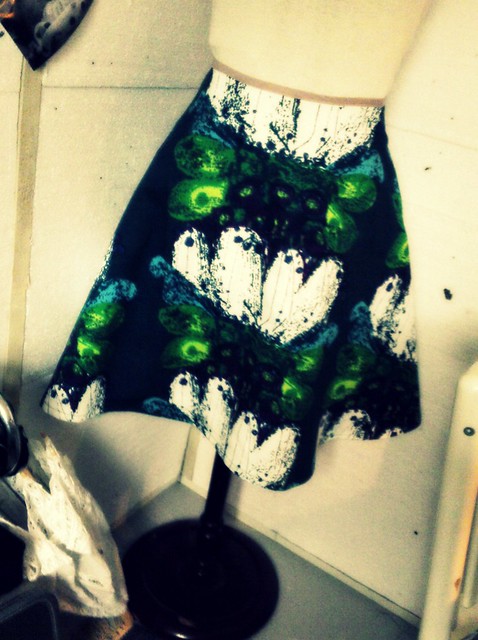

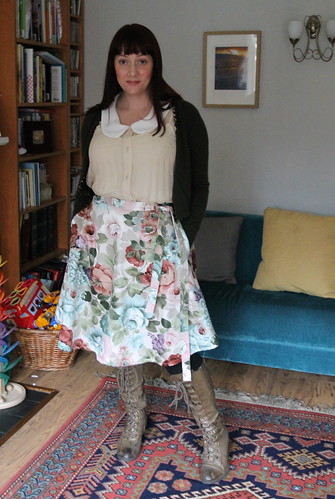
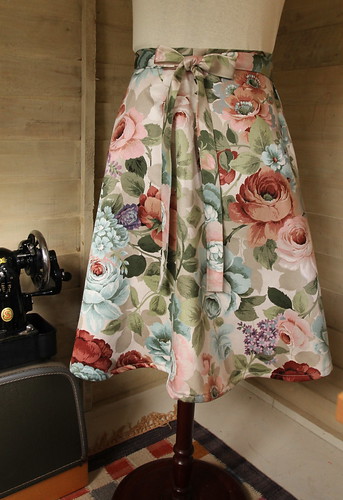


I cut these skirts out a few weeks ago, sometimes when I can't get to my sewing machine, I occupy myself by planning and cutting out in advance, then the cut out items sit patiently waiting for me to stitch them up....sometimes for quite a while.
The skirt above and the one below are both made from the same pattern I used for my most recent wrap skirt.
I didn't have enough of either fabric to make wrap skirts, so instead I cut out one front panel, and adding seam allowance to the centre back pattern piece, cut two back panels.
Both skirts have inseam pockets, (you might recognise the blue skirt from part three of the wrap skirt tutorial), and centre back zips, and both are finished at the waist with bias binding.
The border print fabric used for the blue skirt was bought at the Vintage Village in Stockport, and the bright print fabric used on the other skirt cost me £1 from a charity shop. Zips and all other notions were from stash.
Neither skirt would stand up to close scrutiny by an experienced seamstress, but sometimes, that's ok.
Sometimes, a day in my sewing shed pottering and not being too self critical, just enjoying the hum of the sewing machine is enough, especially if I get a couple of wearable skirts out of it. Even Woody noticed I was wearing something new this morning!