I like to always have some knitting in progress that I call my therapy knitting. I prefer it to be on two needles, and super simple so I can work it in the dark or on a long car journey when I still need to watch the road to avoid travel sickness.
I've tried therapy knitting with cheap yarn, but it works best for me in nice yarn.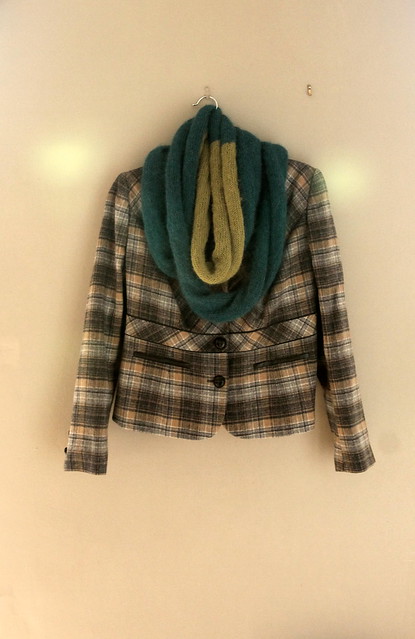
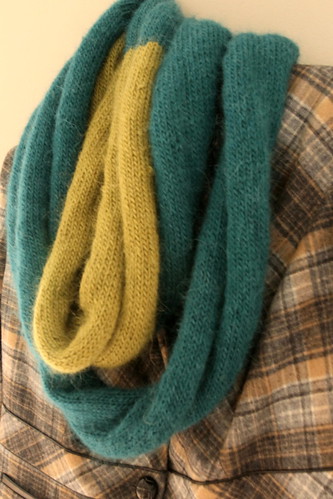
This is my latest piece of therapy knitting. I used four balls of Rowan, Creative Focus Worsted. Three in teal and one in this lovely chartreuse.
I cast on 60 stitches and knitted in stocking stitch until I ran out of yarn, then simply joined each end to make a loop.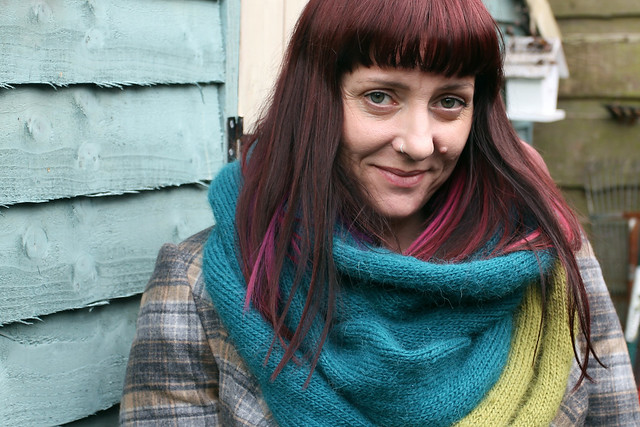
I know I've broken lots of knitting rules, knitting a scarf in stocking stitch, but I like the rolling in quality and the right/wrong sides showing, so I don't much care about breaking rules.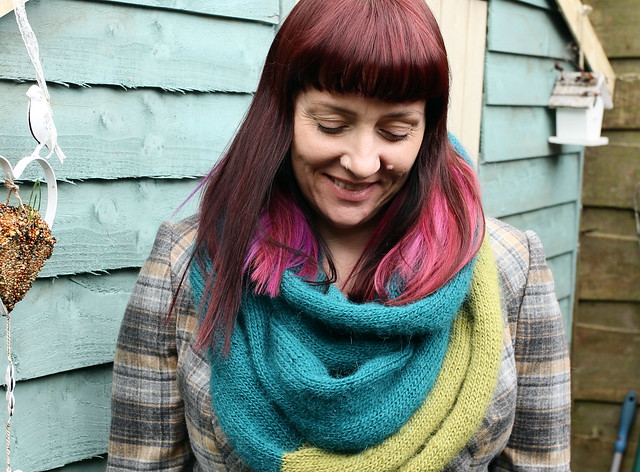
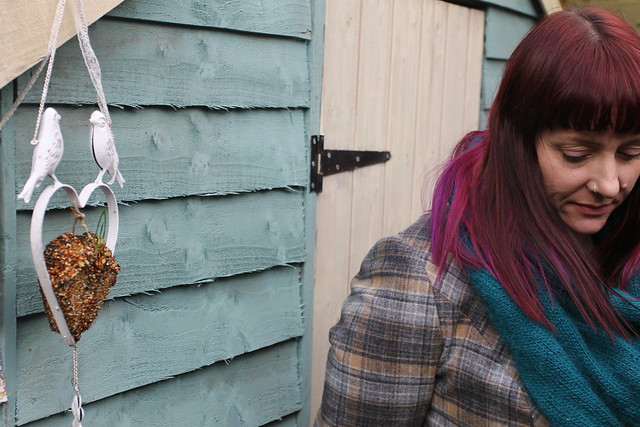
I even quite like that my hair clashes with the scarf....not so keen on showing my wrinkles in these photos, but I tell myself to embrace them, they are a luxury denied to those that die young. (still don't like them though!)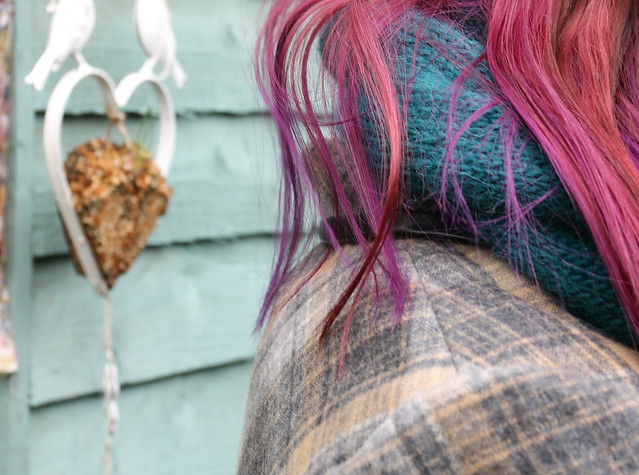
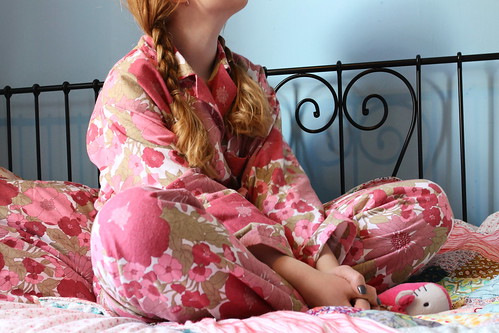
A few weeks ago while rummaging in my favourite charity shop I found a bundle of flannelette sheets still with the original sticky sales labels attached. The whole bundle including double flat sheet and two pillowcases cost me the princely sum of £2.
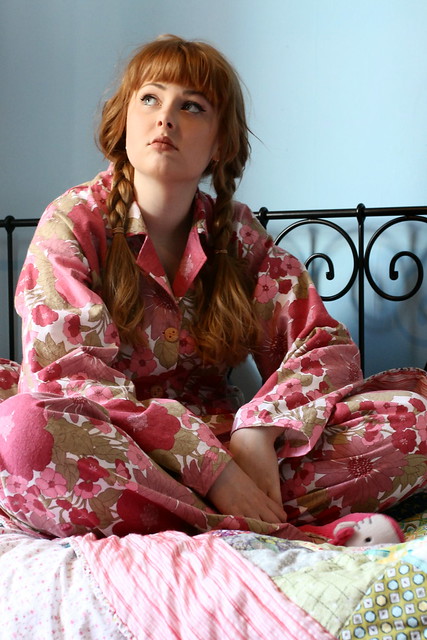
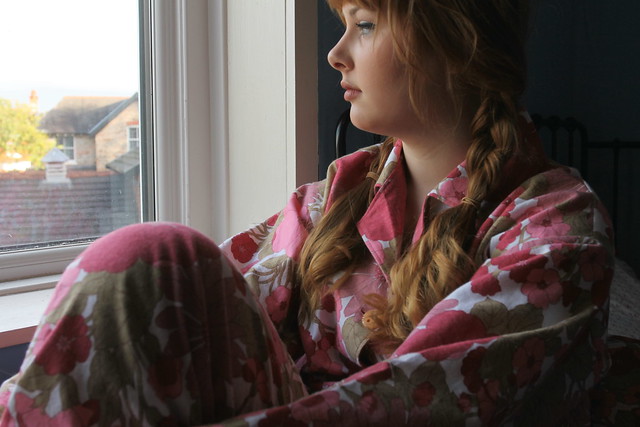
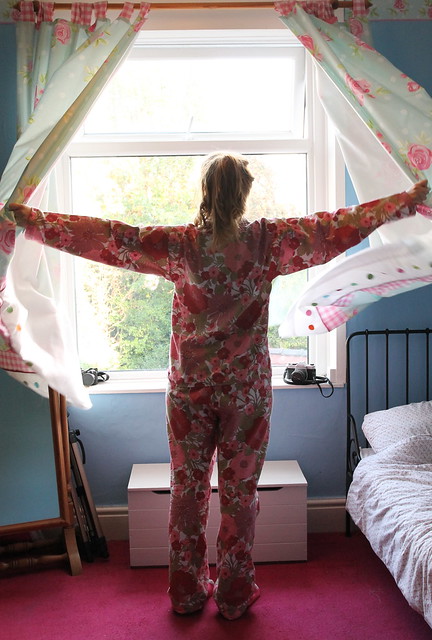
The obvious choice of what to do with them was of course to make some pyjamas. I love pyjamas for lounging in. I'm not really a tracky pants kind of person, but if I want a cosy stay at home day I'm much more likely to wear pyjamas.
I used a pair of men's pyjamas I find comfy as a basis for drafting the pattern.
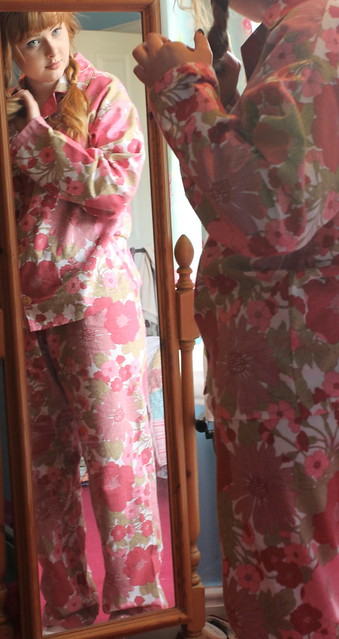
I cut the pyjama bottoms to take advantage of the hems already sewn onto the sheet, and gave them a simple elasticated waist.
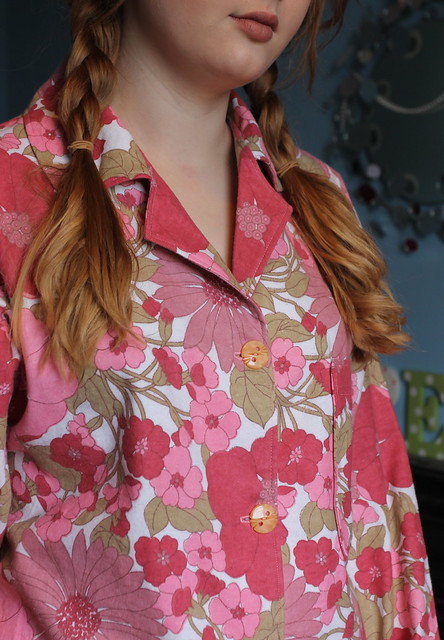
The pyjama top has a soft collar, front patch pocket and is finished with lovely vintage buttons picked up at Stockport's Vintage Village for £1.
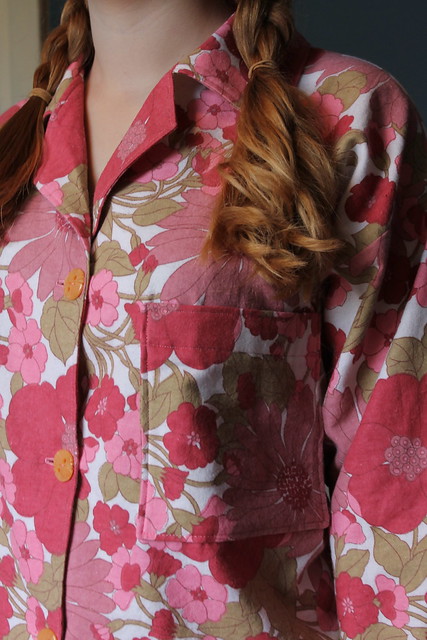
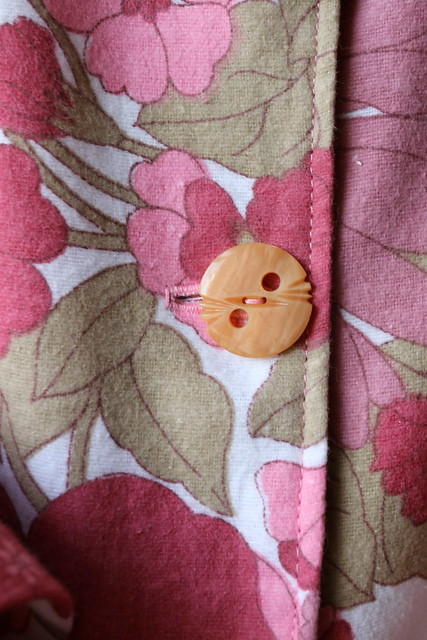
I used french seams throughout for comfort.
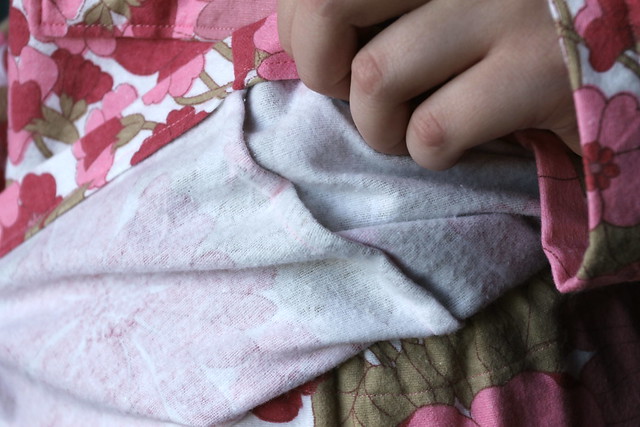
I'm very pleased with the results for a first draft. I think I will make a few minor adjustments to the pyjama top pattern next time. I think I'd prefer the top looser fitting, though not by much.

The obvious choice of what to do with them was of course to make some pyjamas. I love pyjamas for lounging in. I'm not really a tracky pants kind of person, but if I want a cosy stay at home day I'm much more likely to wear pyjamas.
I used a pair of men's pyjamas I find comfy as a basis for drafting the pattern.

I cut the pyjama bottoms to take advantage of the hems already sewn onto the sheet, and gave them a simple elasticated waist.

The pyjama top has a soft collar, front patch pocket and is finished with lovely vintage buttons picked up at Stockport's Vintage Village for £1.


I used french seams throughout for comfort.

I'm very pleased with the results for a first draft. I think I will make a few minor adjustments to the pyjama top pattern next time. I think I'd prefer the top looser fitting, though not by much.
I don't usually make the same dress twice in a row, infact I rarely make the same dress twice, excluding toiles of course.
I was so pleased though with my Fall For Cotton dress that I had to make another straight away.
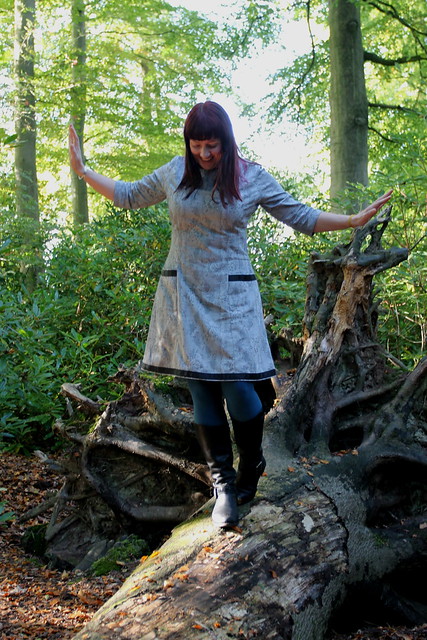
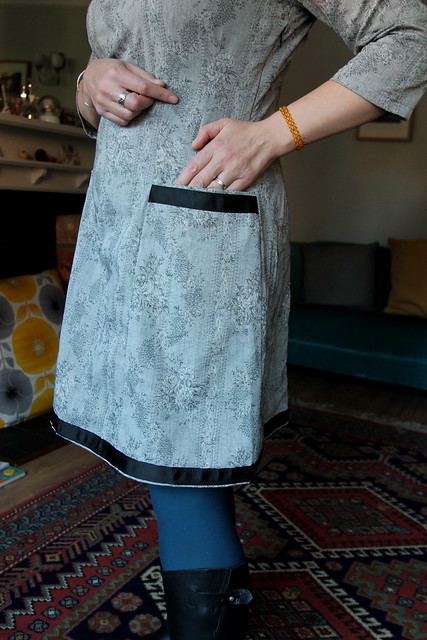
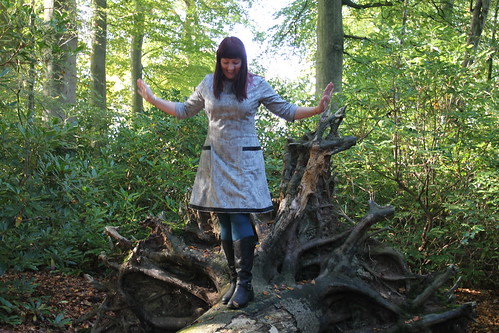
The pattern goes together so neatly and quickly with no alterations needed, but it's also so easy to wear. I love the practical three quarter length sleeves and the length and shape of the dress make it comfortable and fuss free. I can just chuck it over some tights add some boots and maybe a cardy, and of course there are pockets. I love a dress with pockets!
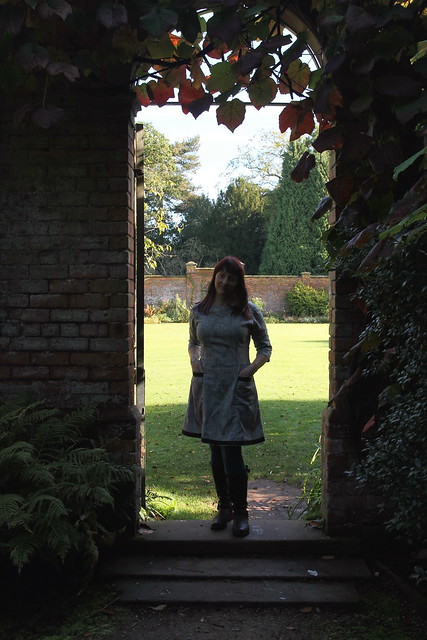
The fabric I've used for this dress is 100% cotton, and has a woven floral stripe design. I had to do a bit of careful cutting to make sure the pattern worked.
I cut the main stripe design down the centre front and back panels, and ensured each side front and back were cut to match each other.
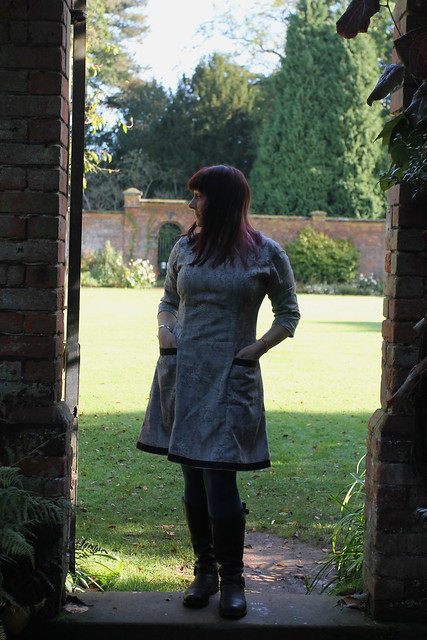
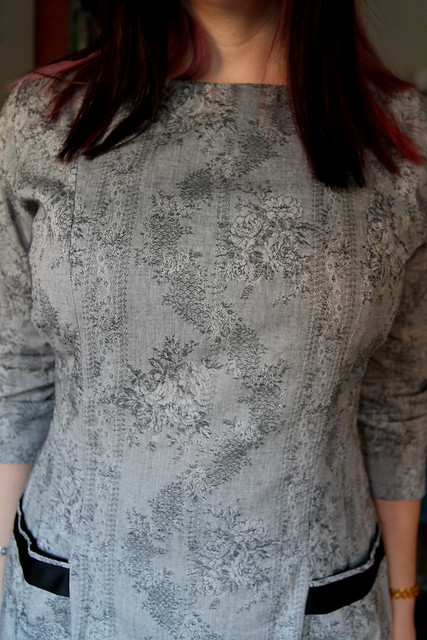
I also made sure that once the pockets were complete the stripe pattern matched up on each side front panel.
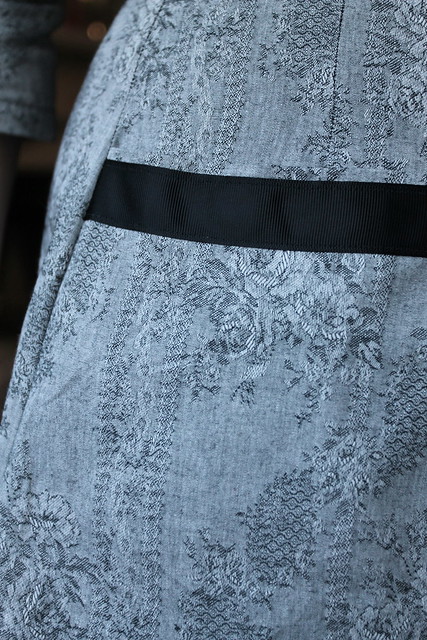
The trim is a grossgrain ribbon from stash. The fabric is quite lightweight and ideally I think I should have lined it, but the ribbon along the hem helps to weigh down the cotton. (And I just pop a full slip underneath to stop some of the cling.)
I'm almost completely happy with the concealed side zip, just seems to be a teeny bit uneven at the top. I was certain it wasn't, but this photo says otherwise.
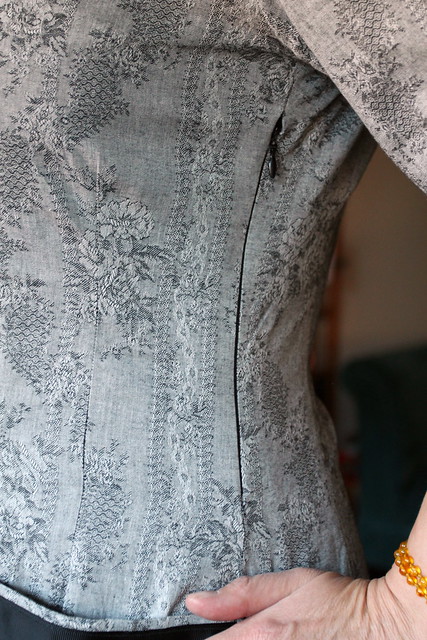
Of course one problem with 100% cotton is the creases! I promise you this dress was pressed, but we drove to Hare Hill to take these photos and by the time we got there I was a crinkly mess, despite being super careful trying not to move too much. Maybe I should have just worn my undies in the car and put the dress on when we arrived! That might've given the National trust employee on the gate something to look at!
Hare Hill is such a lovely peaceful place to visit. We hadn't been there for a long time. I'm not sure why, it is such a pretty place.
The drive in was interesting as a herd of cows were blocking the path, many of them only calves, and so so pretty.
Wish I'd managed to get some photos of them, but I didn't want to spook them.
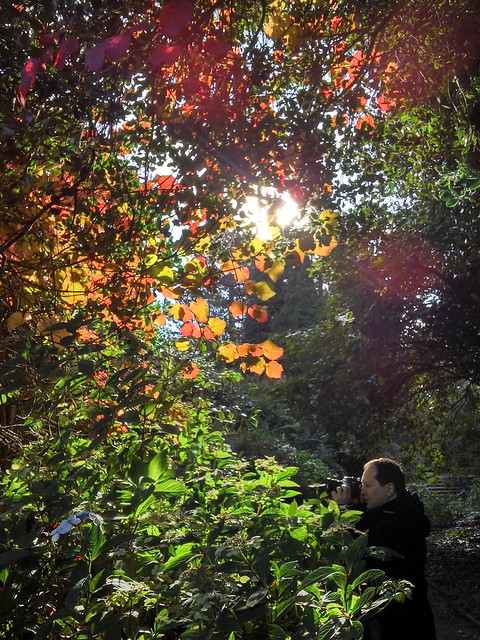
Woody was mostly in charge of the camera anyway, so I was snapping away with my phone. I managed to get this lucky shot of the sun coming through the autumn leaves.
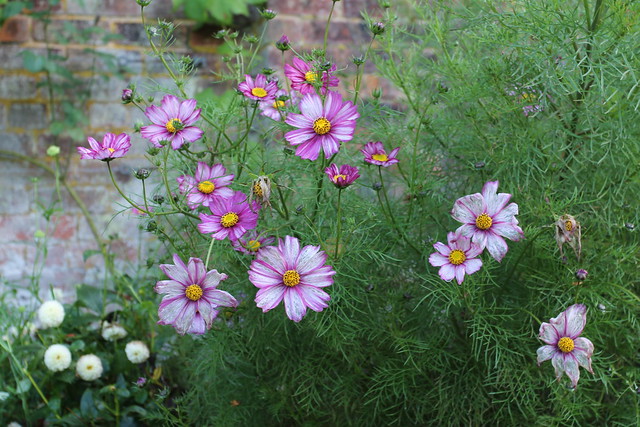
And when I did get hold of the camera managed to grab a few shots of the flowers in the walled garden.
Sadly, we only had a brief walk. Angus and Sid were reluctant to even come along, and had already been bribed with cake, but their patience (and mine!) was running low, so we left before everyone got cross with everyone else.
Woody and I have made plans to head back there soon though, this time with a flask of hot chocolate and without the grumpy children!
I was so pleased though with my Fall For Cotton dress that I had to make another straight away.

The pattern goes together so neatly and quickly with no alterations needed, but it's also so easy to wear. I love the practical three quarter length sleeves and the length and shape of the dress make it comfortable and fuss free. I can just chuck it over some tights add some boots and maybe a cardy, and of course there are pockets. I love a dress with pockets!

The fabric I've used for this dress is 100% cotton, and has a woven floral stripe design. I had to do a bit of careful cutting to make sure the pattern worked.
I cut the main stripe design down the centre front and back panels, and ensured each side front and back were cut to match each other.


I also made sure that once the pockets were complete the stripe pattern matched up on each side front panel.

The trim is a grossgrain ribbon from stash. The fabric is quite lightweight and ideally I think I should have lined it, but the ribbon along the hem helps to weigh down the cotton. (And I just pop a full slip underneath to stop some of the cling.)

I'm almost completely happy with the concealed side zip, just seems to be a teeny bit uneven at the top. I was certain it wasn't, but this photo says otherwise.

Of course one problem with 100% cotton is the creases! I promise you this dress was pressed, but we drove to Hare Hill to take these photos and by the time we got there I was a crinkly mess, despite being super careful trying not to move too much. Maybe I should have just worn my undies in the car and put the dress on when we arrived! That might've given the National trust employee on the gate something to look at!
Hare Hill is such a lovely peaceful place to visit. We hadn't been there for a long time. I'm not sure why, it is such a pretty place.
The drive in was interesting as a herd of cows were blocking the path, many of them only calves, and so so pretty.
Wish I'd managed to get some photos of them, but I didn't want to spook them.

Woody was mostly in charge of the camera anyway, so I was snapping away with my phone. I managed to get this lucky shot of the sun coming through the autumn leaves.
And when I did get hold of the camera managed to grab a few shots of the flowers in the walled garden.

Sadly, we only had a brief walk. Angus and Sid were reluctant to even come along, and had already been bribed with cake, but their patience (and mine!) was running low, so we left before everyone got cross with everyone else.
Woody and I have made plans to head back there soon though, this time with a flask of hot chocolate and without the grumpy children!

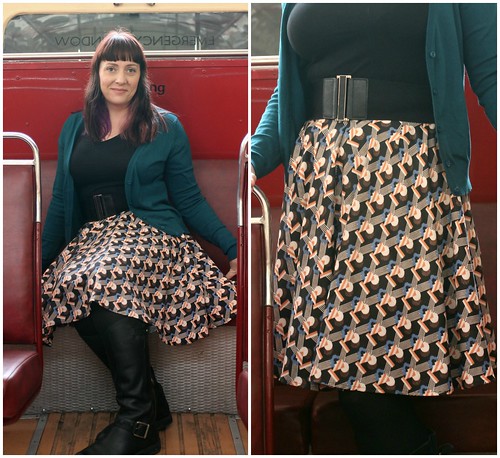


I found this skirt in Oxfam in Hockley, Nottingham a month or so ago. I spotted it immediately on entering the shop, the gorgeous Art Deco style print catching my eye. On closer inspection I found the skirt was a rather nasty acetate fabric, but the print so gorgeous I couldn't leave it hanging on the rack.
The skirt probably dates from the 1970's judging by the nasty synthetic fibres and the maxi style.
The waist was absolutely teeny tiny at only 22", but there was so much fabric in the skirt I knew I could easily get another skirt out of it that would fit me.
I started by chopping the skirt off just below the zip fastening to see how much fabric I had to play with...rather a lot as it happened.
I then cut off all the previously sewn seams. I evened up each panel, 4 in total.
I then stitched up three seams and added an invisible zip to the fourth before completing that seam.
I tried it on, and it was a little large for me, so since I didn't want to lose any of the fullness in the skirt length, I added four waist darts .
I then finished the waist with bias binding and a hook and eye fastening.
I had kept the original hem in place on each panel and simply ensured they matched up when I stitched each seam.
The result is a lovely circle skirt, and I'm really pleased with it.