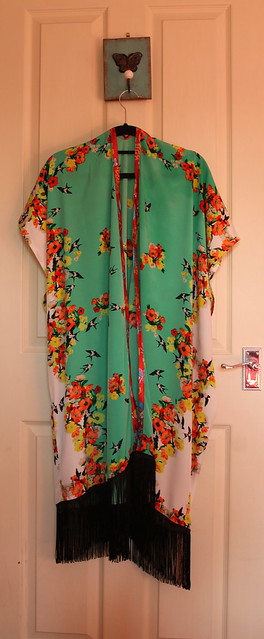
This gorgeous fabric jumped off the shelves and into my arms. a polyester blend with a gorgeous vibrant print. I knew I wanted some to make a blouse or possibly a dress, and India who was with me suggested it would make her a beautiful boho style kimono.
She has had her eye on several over the summer, but never had the spare funds to buy one.
I agreed it would make a great kimono, and we bought some long fringing while we were there.
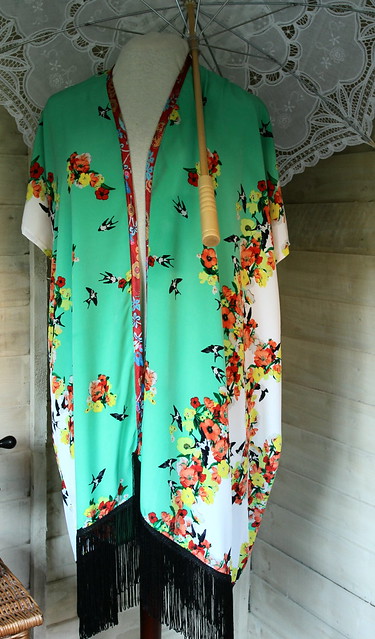
I ran this up yesterday for her. I used some lovely satin bias binding from stash for the front opening.
A simple and satisfying make. I've even written up a quick little tutorial for my readers.
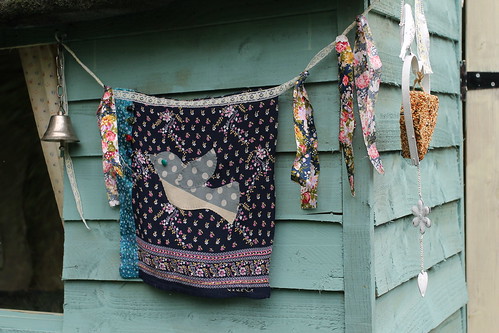
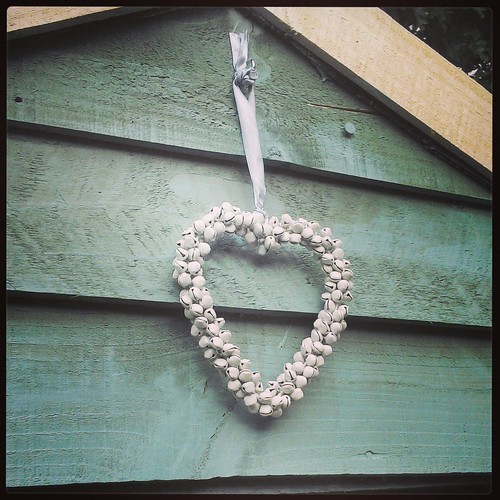
Hung with love and thoughts of all those families around the world missing their children.
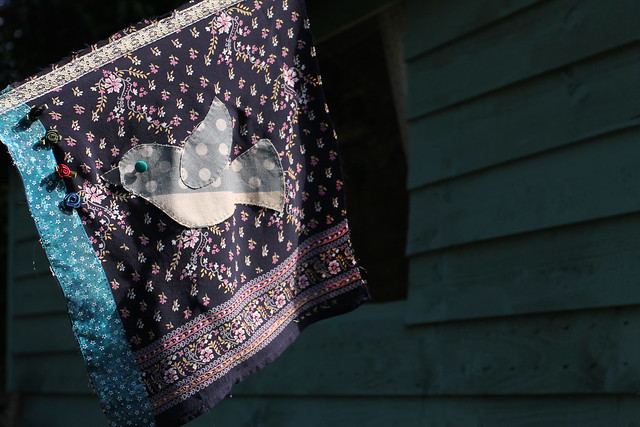
If you'd like to know more about the Day of Hope, just click here
The pieces then sat in a little pile mocking me for a few weeks before I next had some time to sew them up. That's when I realised I'd lost the instructions! I must've thrown them away with all the scraps that evening when I cut them out.
I sat on my bedroom floor laying out the pieces and figuring out my order of work as I worked on making sure I tailor tacked everything. No instructions meant I was going to have to rely on pattern markings, the pattern envelope drawings and luck.
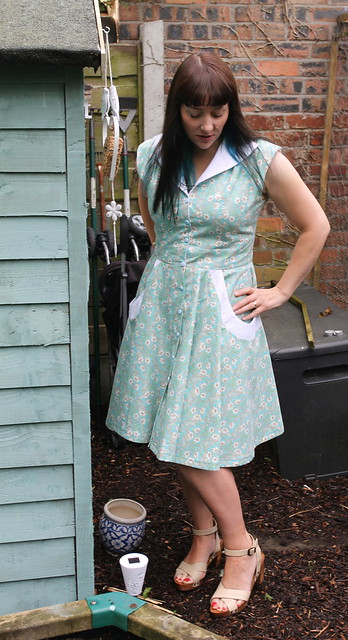
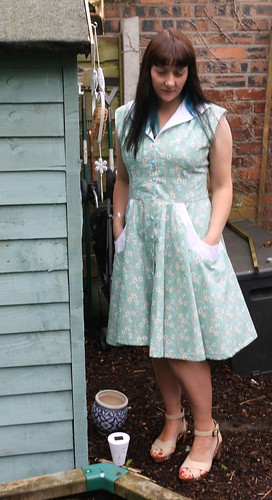
The bodice is lined, and the skirt is made up of four pieces, plus the pieces for the pockets, which have pocket bands, I'll admit that was quite a puzzle with no instructions. I'm not the most spacially aware seamstress. Thankfully, the pattern markings helped me a lot and I figured it out after a bit of head scratching.
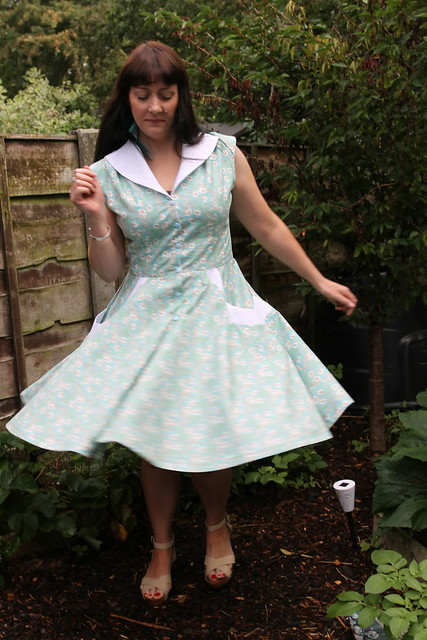
The skirt is super twirly thanks to the front and side panels being circle style, and then the back panel also gathered into the bodice.
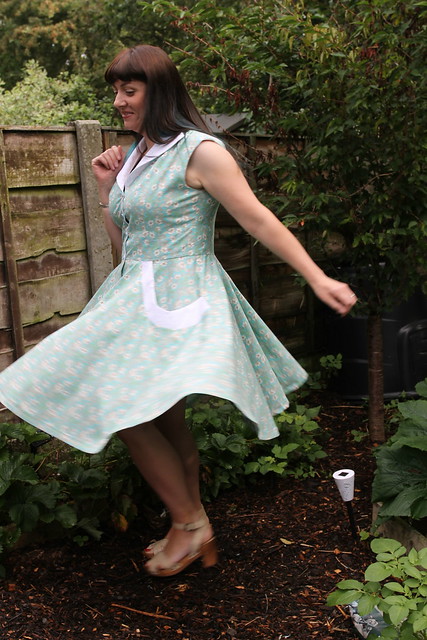
The fabric is 100% quilting cotton, with broderie anglais collar and pocket bands.
Overall I'm pretty happy with how this turned out. I don't usually like having my middle aged arms on show, and probably will throw on a cardigan unless I'm feeling super confident or it's very hot.
I decided my first project to work on in my new shed should be my flag for Florence.
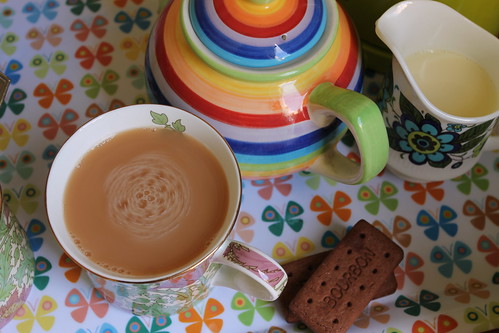
I gathered together my materials, and made myself comfortable; radio tuned to radio 4 a lovely cup of tea and a biccy or two.
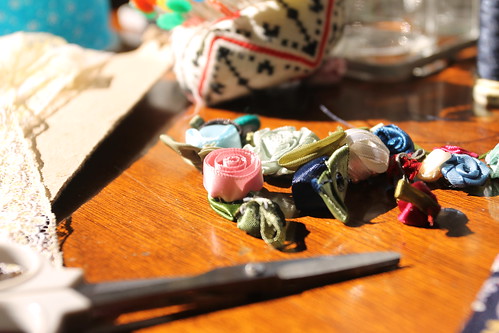
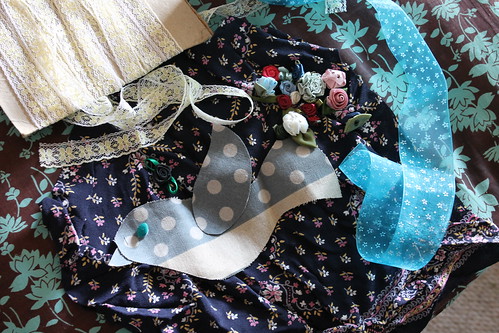
The main fabric used for the flag is a piece of my favourite maternity dress worn throughout my pregnancy with Florence and with Ernest.
Here I am with my Florence bump.

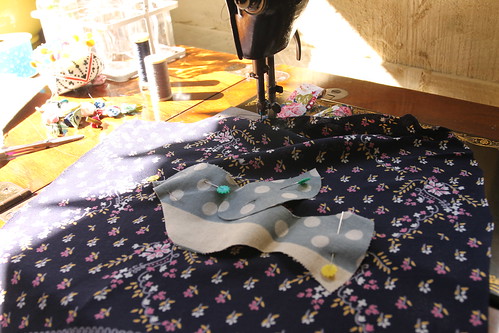
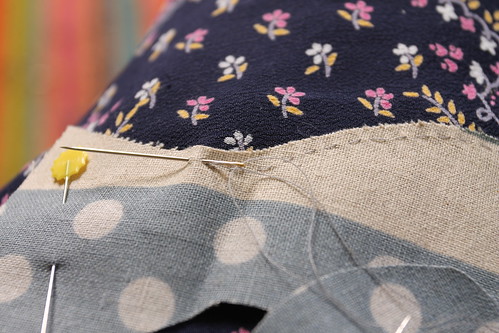
I appliqued a grey dove using a small running stitch. I wanted this project to be entirely hand worked. I enjoy the calm of hand sewing, and wanted this flag to have a delicate fragile quality. I have combined hand stitching with raw edges in the hope of acheiving that.
I then added some organza ribbon and four satin roses, one for each year Florence has been gone.
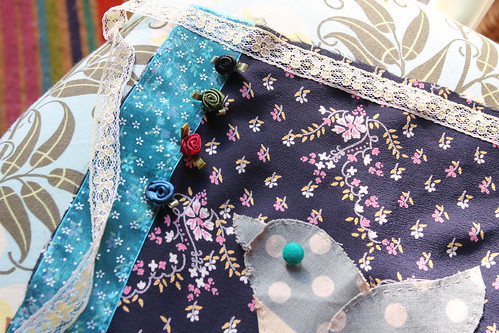
I also added some lace across the top edge to hang the flag.
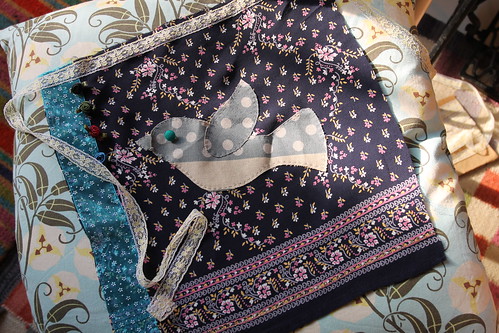
Any finally six little rustic kisses, one for each of my children, and the way I sign letters and cards.
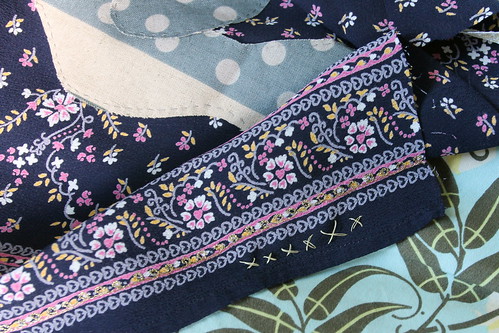
Next Monday I will hang the flag, and take photos for the Prayer Flag project.
I got up at 6am this morning to finish painting the floor of the shed. The chickens were rather bemused by my early morning diy, and it seems so was one of the local cats because at 9am I found little paw prints across the floor when I went back to finish off the second coat!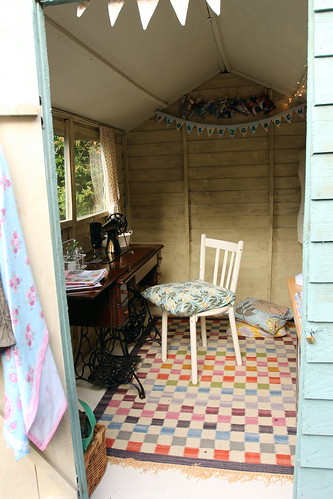
The floor was dry enough by late afternoon to start moving in! 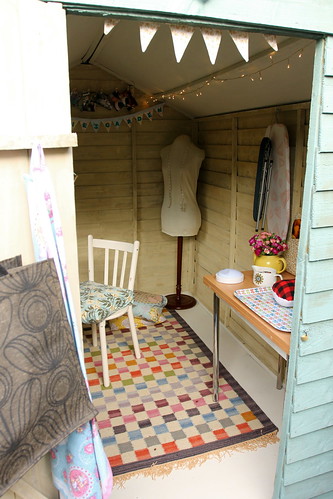
I've moved my beautiful Singer treadle in. I still intend to paint the table top, maybe I'll get that done this week.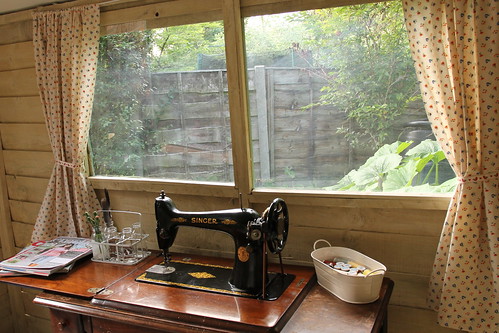
I ran up some simple curtains in some pretty cotton I'd bought in a charity shop a few months ago, using ribbon as tie backs.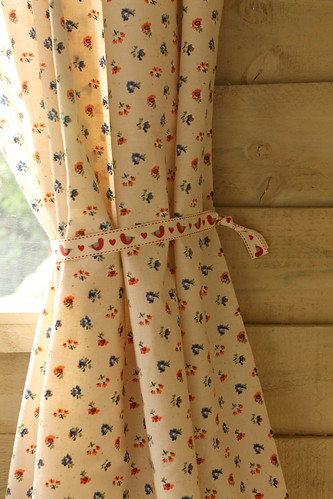
I've hung bunting and fairy lights and a few photos too. 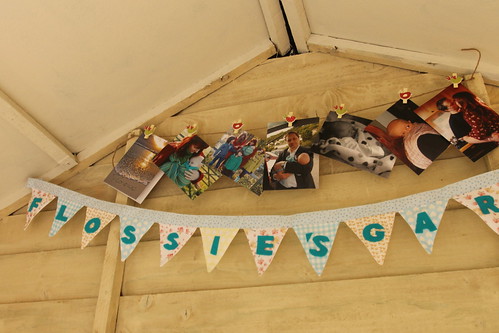
I'm going to be on the lookout for a little shelving unit or cabinet in my local charity shops, something to house the inevitable bits and pieces that will accumulate.
This weekend it's project "sort out the power and security". Oh yes and buy a kettle!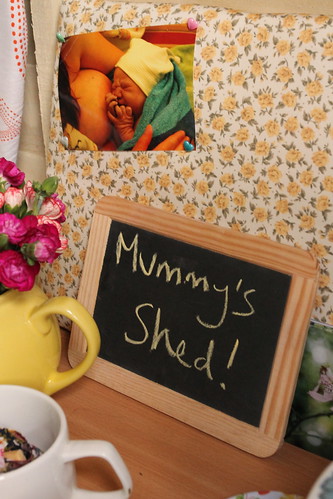
This time, it's an idea I've had before, but was convinced was unworkable until a dear friend suggested I give it a try. Somehow her suggestion seemed to give me that final push, and my new sewing shed is taking shape! (Some people might call it a grown up wendy house...they wouldn't be wrong!)
This was how our regular garden shed looked on Thursday.
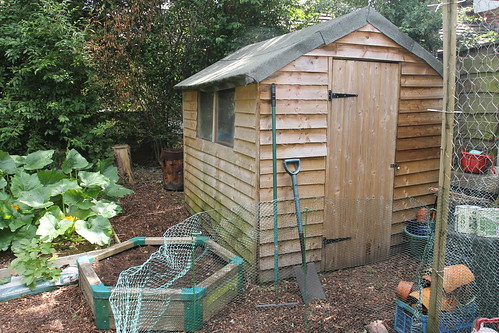
On Saturday I started work on transforming the outside.
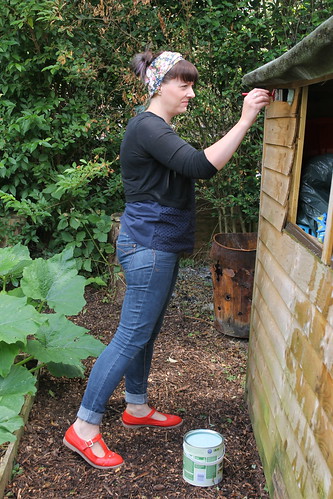
I also began work on clearing the inside...how many spiders???
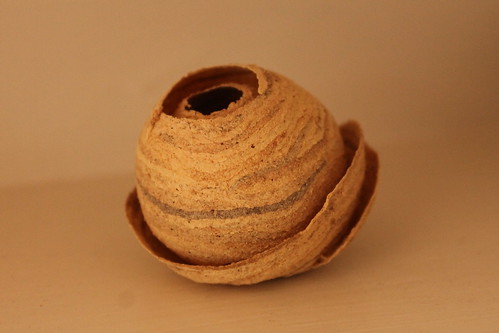
I also found this abandoned wasp nest attached to the ceiling. It really is the most beautiful thing, it now lives on my mantel shelf in the lounge.
(I think it's a solitary/paper wasp nest)
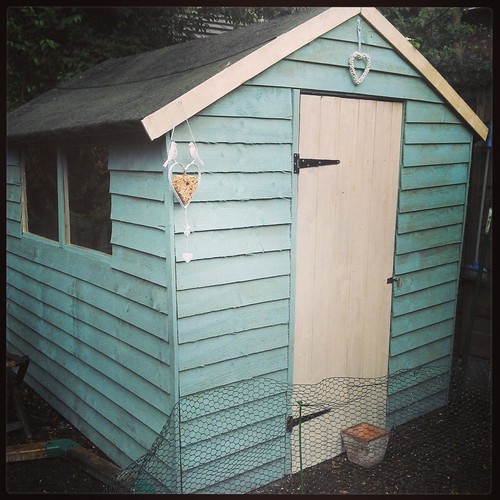
The outside of the shed is complete with a few little decorative touches.
I'm now working on the inside. I've painted most of the inside, just the ceiling and the floor to go.
I'm thinking about how I'm going to insulate in time for the winter, and also heating, and lighting...actually I'm mostly leaving those boring bits for Woody to think about and concentrating on rugs,cushions and decor...grown up wendy house! I will be having a kettle, and biscuits, all future visitors will be expected to play tea parties in my new shed...local friends, you have been warned! and Rachel, you get best mug and most chocolatey biccy for giving me that push to get this sorted!


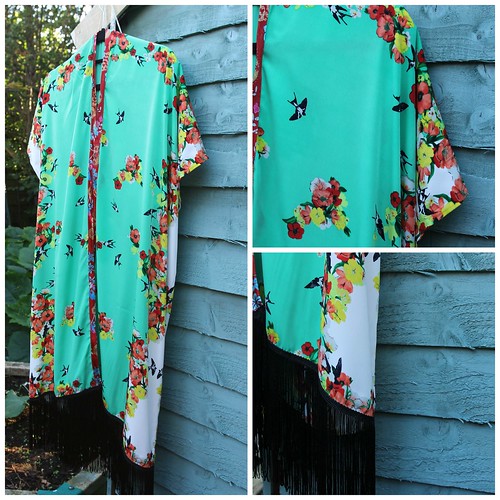
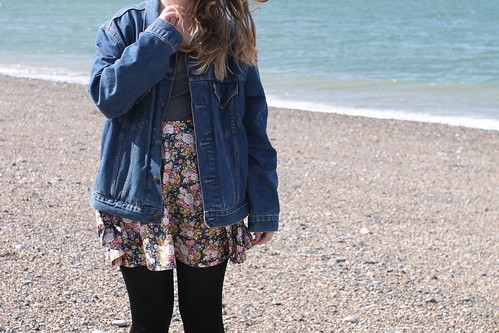
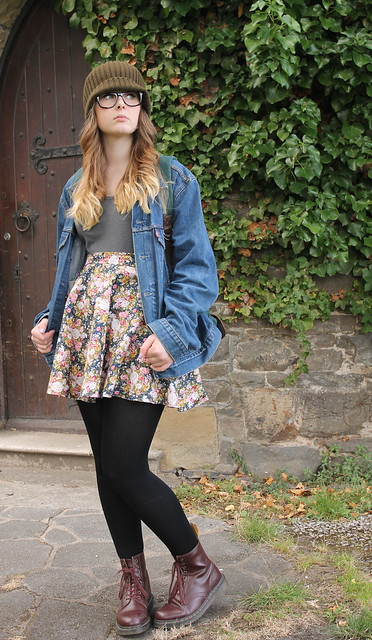
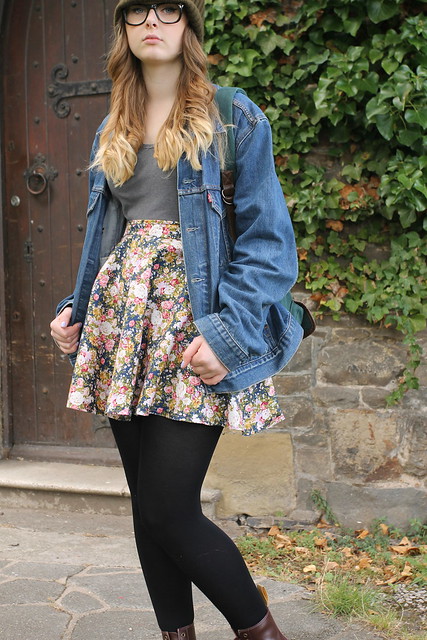




A really quick and simple make, click here for a free tutorial, or on the linky in the header for more free tutorials.