
Design your own wrap skirt. Part One
4:13 pm
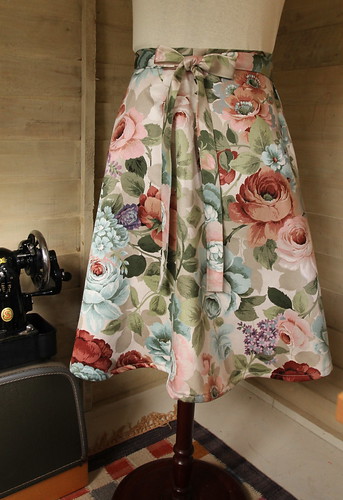
I do like a wrap skirt, they are simple to make,comfortable and most importantly still fit after you've eaten all your toddler's left over Halloween treats! ( I was doing him a favour eating it right? )
Making your own wrap skirt pattern is so easy. Start by following my basic skirt drafting tutorial.
Once you have your basic skirt pattern, there are so many ways you can use that as a starting point for many styles of skirt.
Take your skirt piece ( I would use the front piece.), and if you are happy with the shape of the basic skirt pattern, there is no need to change anything. Just cut out three pattern pieces instead of the usual two.
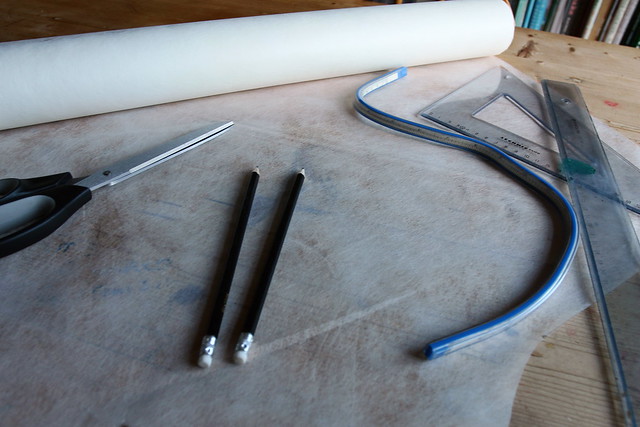
If however like me, you want to have a fuller skirted wrap, then gather together your pattern drafting materials:
pencils,pens.
ruler
set square,
flexible curve/french curve
scissors
pins
tracing paper (I prefer fabribaste/swedish tracing paper)
Take your basic skirt pattern piece, and cut up the centre, then spread.
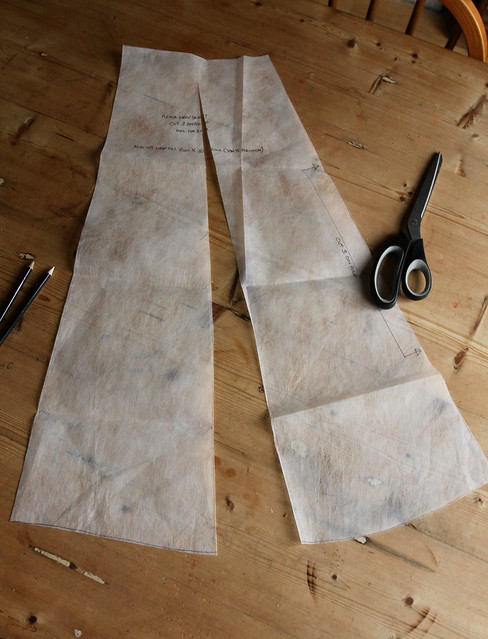
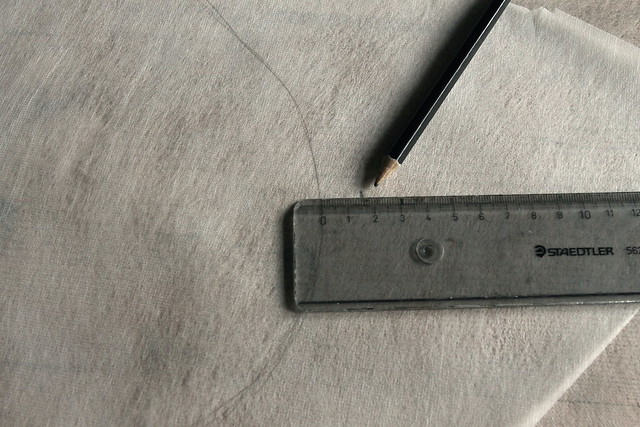
Pin this piece to your tracing paper and mark carefully the curve of the hem.
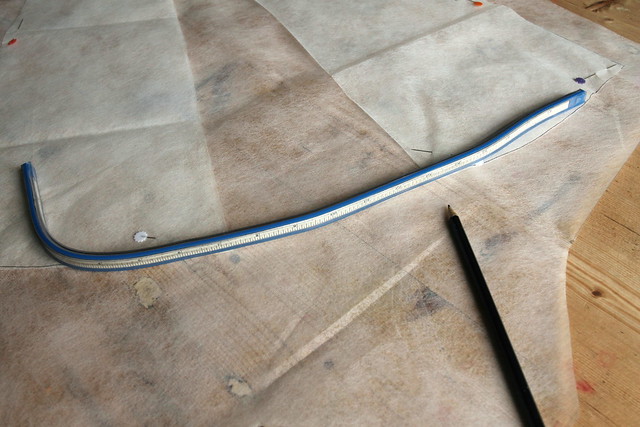
Cut out your new pattern piece.
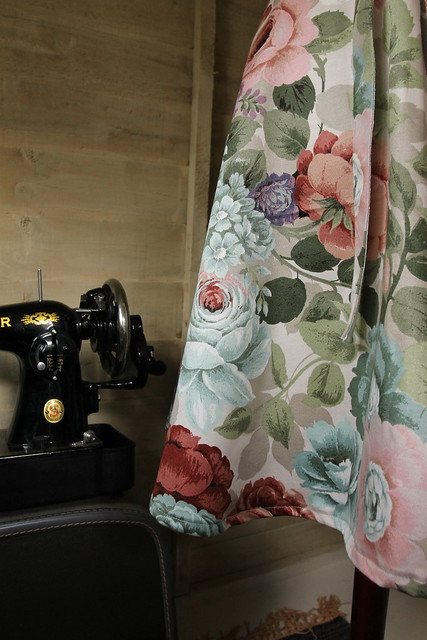
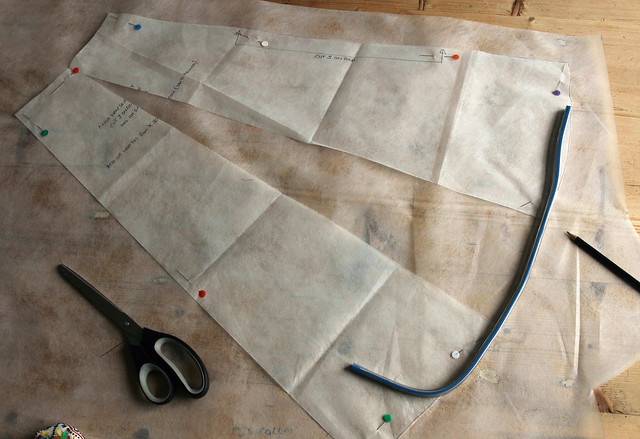
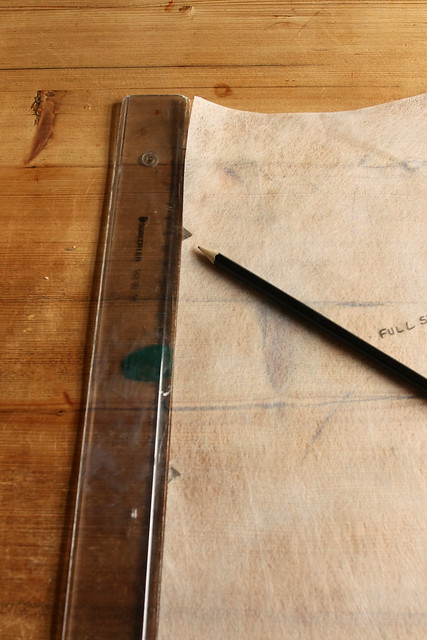
Remove your basic skirt piece, and mark the new pattern piece with grainlines and details of the pattern. In this case I have the piece to be cut on the fold, just as my basic piece. (You can experiment with cutting on the bias if that suits your chosen fabric, for example a silk with a good drape for an elegant evening skirt)
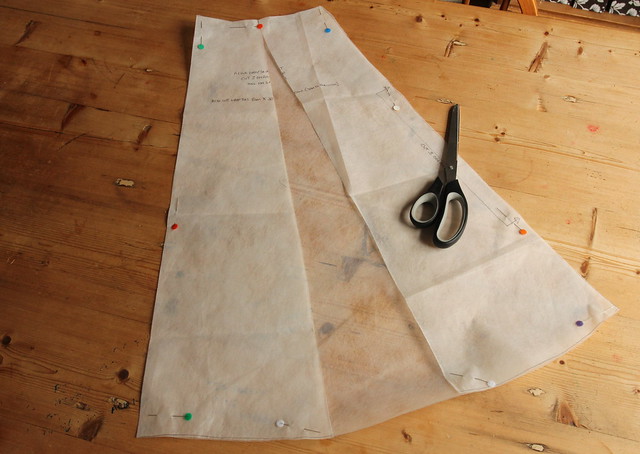
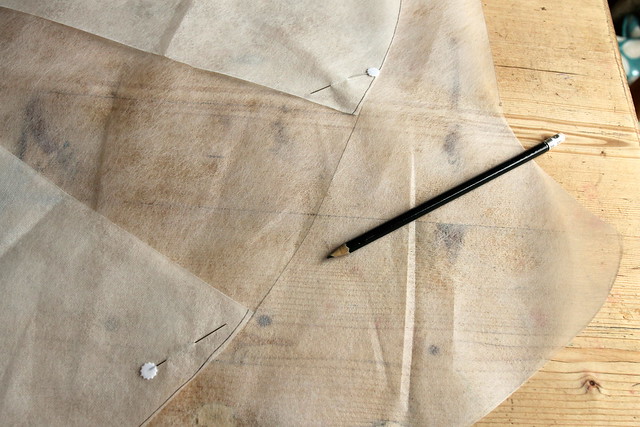
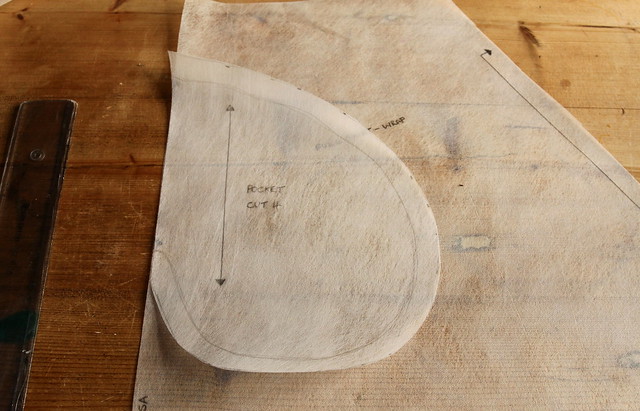
I wanted to add pockets to my skirt, so I marked where I wanted the pockets to be on my pattern piece.
I then lay over an extra piece of tracing paper and drew in my pocket shape to make my pocket pattern piece.

Adding 1.5cm seam allowance after drawing the shape.

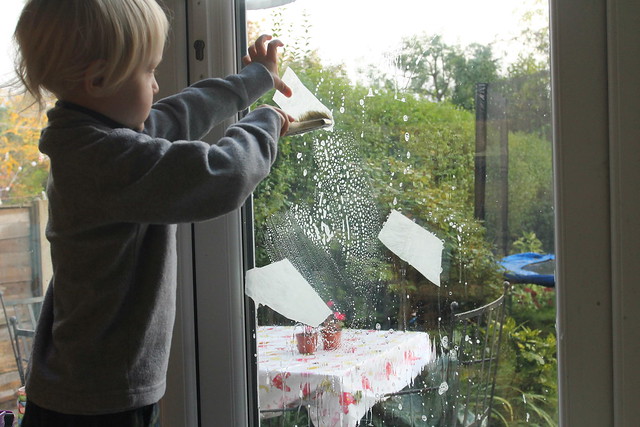
Meanwhile Ernest was busying himself sticking offcuts of fabribaste to the patio doors with soapy water.
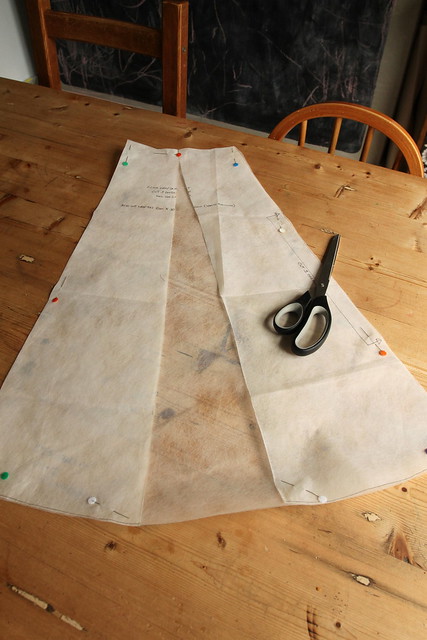
I then cut out the pocket piece. (The eagle eyed amongst you may notice I have not included matching notches to match the pocket up to the notches on the skirt pattern. I really should have done, but I will instead match the edges of each pocket piece to the notches on the skirt pattern, minus the seam allowance.)
Once all the pattern pieces are made, pin the pieces to the chosen fabric and cut out. (For an average size 12 about 2 metres of fabric is enough)
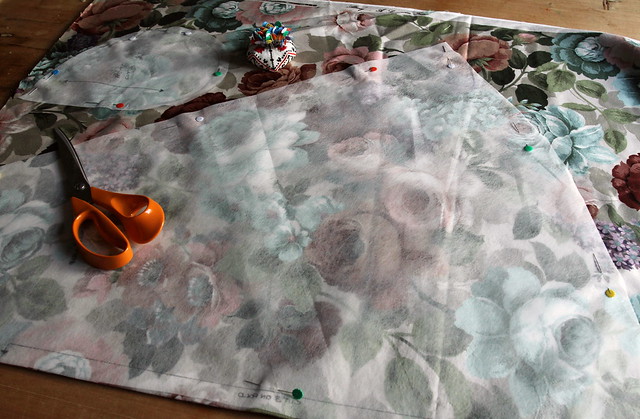
Three skirt pieces are needed, front, back and wrap piece. Two pockets (optional) and a waist tie. For this skirt I cut a waist tie 8cm in depth by 300cm in length. (Or rather I cut two 150cm lengths and joined them in the centre as that was all my fabric would allow.)
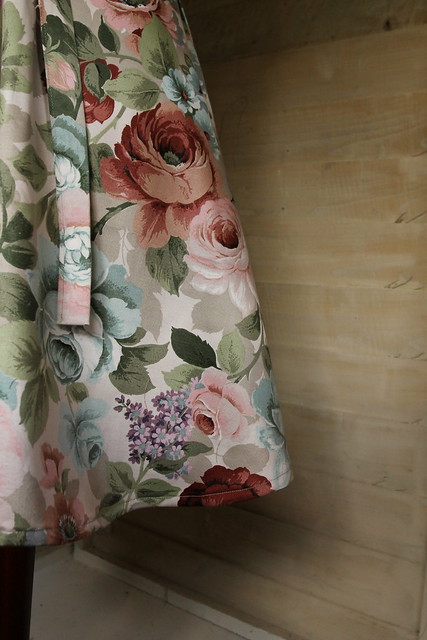
The next step is to construct the skirt, which I will detail in Part Two....
Making your own wrap skirt pattern is so easy. Start by following my basic skirt drafting tutorial.
Once you have your basic skirt pattern, there are so many ways you can use that as a starting point for many styles of skirt.
Take your skirt piece ( I would use the front piece.), and if you are happy with the shape of the basic skirt pattern, there is no need to change anything. Just cut out three pattern pieces instead of the usual two.
If however like me, you want to have a fuller skirted wrap, then gather together your pattern drafting materials:
pencils,pens.
ruler
set square,
flexible curve/french curve
scissors
pins
tracing paper (I prefer fabribaste/swedish tracing paper)
Take your basic skirt pattern piece, and cut up the centre, then spread.
Pin this piece to your tracing paper and mark carefully the curve of the hem.
Cut out your new pattern piece.
Remove your basic skirt piece, and mark the new pattern piece with grainlines and details of the pattern. In this case I have the piece to be cut on the fold, just as my basic piece. (You can experiment with cutting on the bias if that suits your chosen fabric, for example a silk with a good drape for an elegant evening skirt)
I wanted to add pockets to my skirt, so I marked where I wanted the pockets to be on my pattern piece.
I then lay over an extra piece of tracing paper and drew in my pocket shape to make my pocket pattern piece.
Adding 1.5cm seam allowance after drawing the shape.
Meanwhile Ernest was busying himself sticking offcuts of fabribaste to the patio doors with soapy water.
I then cut out the pocket piece. (The eagle eyed amongst you may notice I have not included matching notches to match the pocket up to the notches on the skirt pattern. I really should have done, but I will instead match the edges of each pocket piece to the notches on the skirt pattern, minus the seam allowance.)
Once all the pattern pieces are made, pin the pieces to the chosen fabric and cut out. (For an average size 12 about 2 metres of fabric is enough)
Three skirt pieces are needed, front, back and wrap piece. Two pockets (optional) and a waist tie. For this skirt I cut a waist tie 8cm in depth by 300cm in length. (Or rather I cut two 150cm lengths and joined them in the centre as that was all my fabric would allow.)
The next step is to construct the skirt, which I will detail in Part Two....


4 comments
Great timing! I've got a wrap skirt project in the offing...
ReplyDeleteBeautiful skirt Jeanette. I am hankering after a cord skirt, it would be so much cheaper to make one in my size than buy one. I have to get over my fear of zip insertion lol.
ReplyDeleteV
xxx
Val, I still hate inserting zips after all these years sewing! I do it often, but I'm always worried I'll mess it up! Invisible zips are probably the easiest if you have an invisible zip foot for your machine.
DeleteI totally agree - rush out and get an invisible zipper foot! I finally got around to buying one this year after 30-odd years sewing. I nearly cried the first time I used it, it was the easiest zip I had ever inserted. Oh the pain of the memory of all those invisible zips inserted without the right foot!
DeleteHi, I love to hear from readers, hate to think I'm talking to myself here, so don't be shy say hello!