
Design your own wrap skirt. Part Two
1:32 pm
Once you have drafted your wrap skirt pattern pieces as described in part one, you are ready to put together your skirt.
I made my skirt with inseam pockets, but the skirt is even easier without.The following instructions are brief and assume some basic sewing knowledge. I will however, describe in detail how to add inseam pockets in part three.
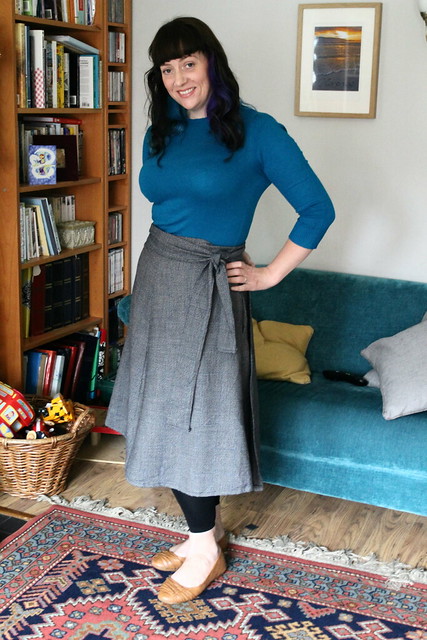
For this skirt I prefer the wrap to be at the back. I have two other skirts in my wardrobe that wrap at the back, both made from the skirt pieces of Crepe by Colette Patterns.
I made my skirt with inseam pockets, but the skirt is even easier without.The following instructions are brief and assume some basic sewing knowledge. I will however, describe in detail how to add inseam pockets in part three.
For this skirt I prefer the wrap to be at the back. I have two other skirts in my wardrobe that wrap at the back, both made from the skirt pieces of Crepe by Colette Patterns.
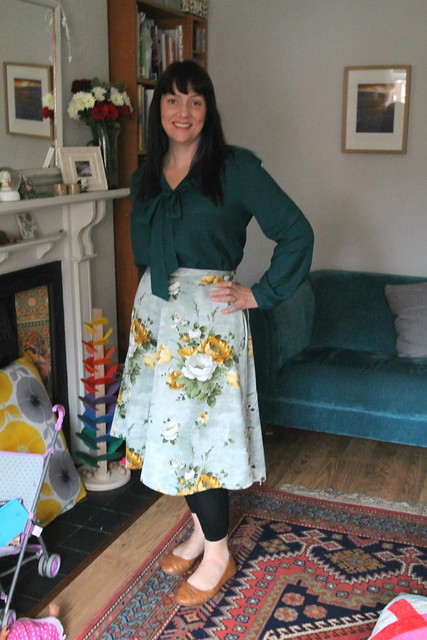
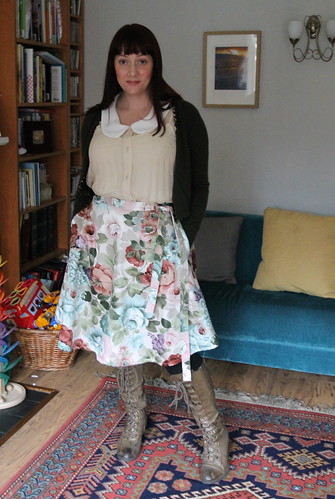
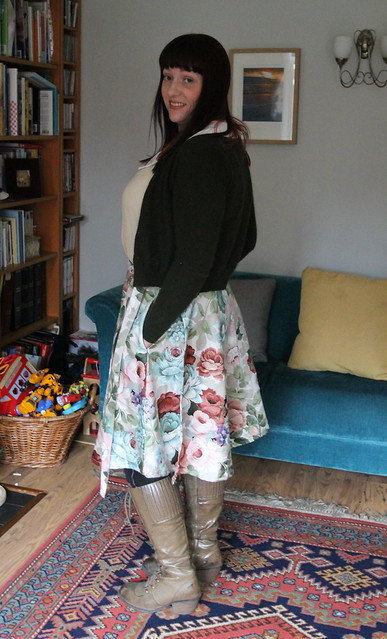
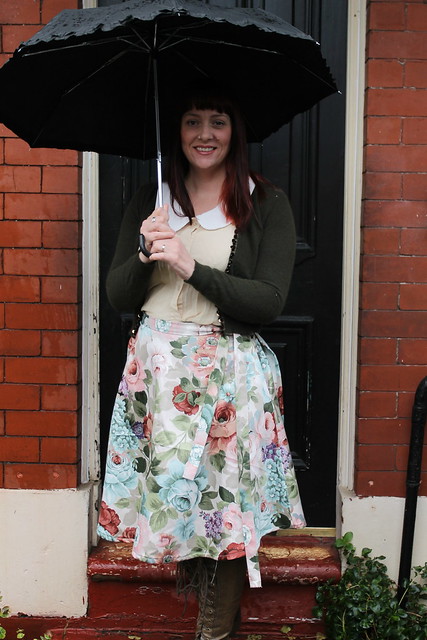
I particularly love my floral skirt, and wanted to replicate that but shorter with this skirt.
There are no rules though, if you want your skirt to wrap at the front that will work. You could even change your mind day to day as all three pattern pieces making up the skirt are identical.
For the sake of these brief instructions we will call the centre skirt panel the front.
Remember if you want to add inseam pockets, I will be covering the instructions for adding them in part three.
For a skirt without inseam pockets:
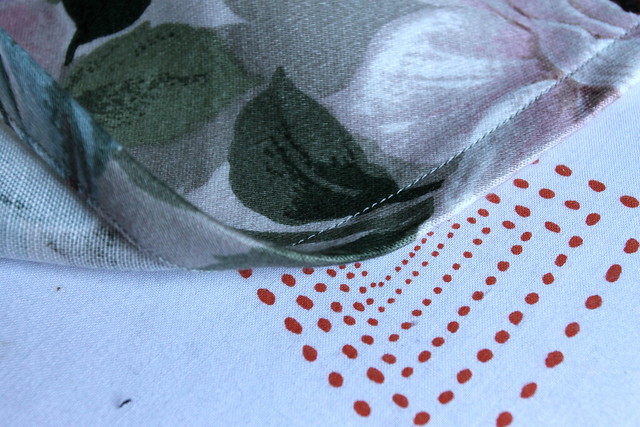
Start by sewing each skirt panel together. With right sides together sew one skirt back panel to the skirt front panel, press, neaten the seam edges and repeat with the second skirt back panel.
You now have three skirt panels sewn together and can wrap the skirt around your body.
Next turn and press 5mm on each side (back) panel, then a further 1cm, to neaten the side edges of the skirt.
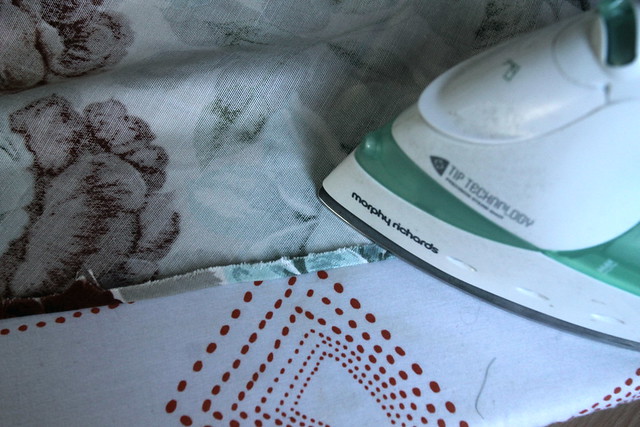
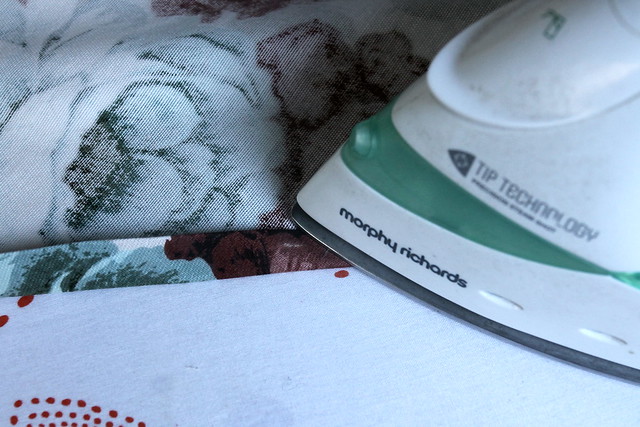
Machine stitch the turning.
Matching the centre front of your waistband/waist tie to the centre front of the skirt, pin and tack in place.
Stitch the waistband/waist tie in place along the top edge of the skirt with a 1cm seam allowance, press seam allowance upwards, also pressing in all the edges of the waist tie by 1cms.
Press in the raw edges at the end of the waist tie, and then press the waist tie in half lengthwise, encasing all raw edges. Pin and tack in place before top stitching.
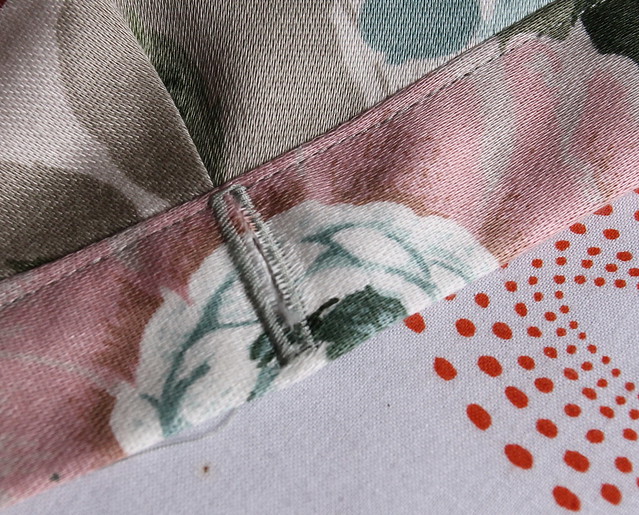
You now have a skirt with a waist tie. You can simply wrap and tie the skirt like this, but I like to add a buttonhole in the waistband in line with the side seam through which to thread the waist tie.
Finally, you need to hem your skirt. If it is a full skirt it is wise to leave the skirt hanging overnight before hemming to allow the fabric to fall under it's own weight and level off naturally.
Stitch your hem using your preferred method. I machine stitched this hem, but had I more time I would have hand stitched.
I can highly recommend this tutorial for hemming a full or circle skirt by machine.
Stitch the waistband/waist tie in place along the top edge of the skirt with a 1cm seam allowance, press seam allowance upwards, also pressing in all the edges of the waist tie by 1cms.
Press in the raw edges at the end of the waist tie, and then press the waist tie in half lengthwise, encasing all raw edges. Pin and tack in place before top stitching.
You now have a skirt with a waist tie. You can simply wrap and tie the skirt like this, but I like to add a buttonhole in the waistband in line with the side seam through which to thread the waist tie.
Finally, you need to hem your skirt. If it is a full skirt it is wise to leave the skirt hanging overnight before hemming to allow the fabric to fall under it's own weight and level off naturally.
Stitch your hem using your preferred method. I machine stitched this hem, but had I more time I would have hand stitched.
I can highly recommend this tutorial for hemming a full or circle skirt by machine.


6 comments
Such a gorgeous skirt. Like the bow tie blouse too did you make that, if so whatpattern did you use.
ReplyDeleteSorry Mags, no I didn't make that blouse.
DeleteThat's a lovely skirt Jeanette, and thanks for the tutorial!
ReplyDeleteSlightly off topic but you may remember I commented on your flannel PJs post saying I also had a floral flannelette double sheet - am wondering if it would be of any use to you for more PJs as I can't see me getting round to making anything with it myself - too many knitting projects on the go & we are in desperate need of more space! You could message me through NM, same username, if you would like further description/photos? H
Really? That would be lovely. Thank you. I will message you. x
DeleteYou look lovely, thinking of you xoxoxox
ReplyDeleteYou look lovely, thinking of you xoxoxox
ReplyDeleteHi, I love to hear from readers, hate to think I'm talking to myself here, so don't be shy say hello!