


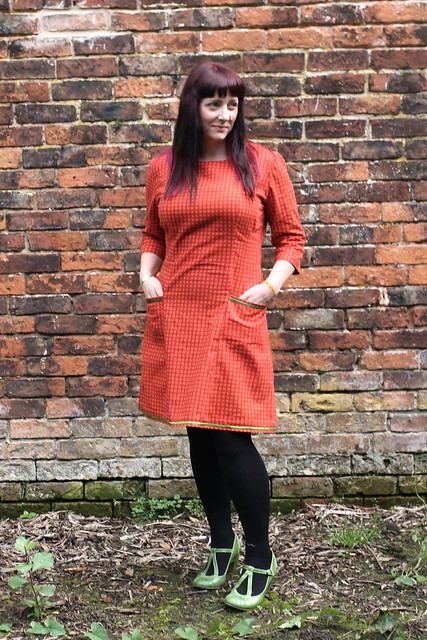
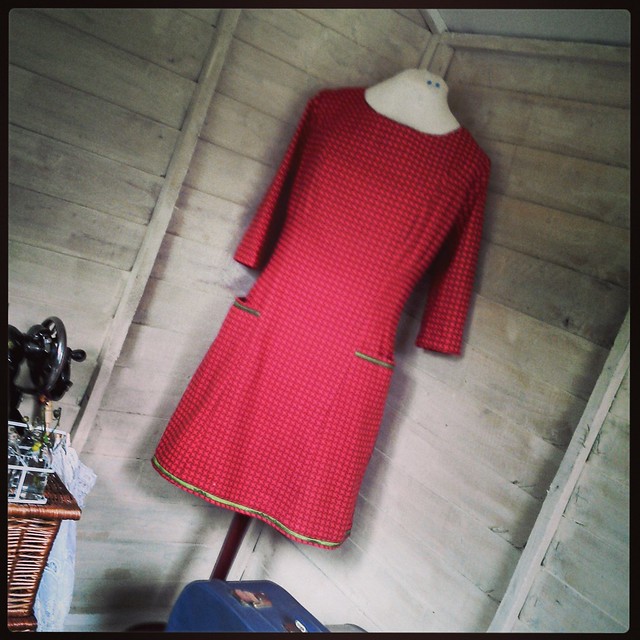
I couldn't decide initially if the pattern was late 1950's or early 1960's, but seeing it sewn up, it has a definate 1960's vibe I think.
The pattern was one I found at The Vintage Village in Stockport. A one size pattern with no markings other than punched holes to show the pattern piece number, the grain line and dart placements. The pattern had been used before, so notches were already cut out.
Ordinarily I would have just used the pattern pieces, but following Rochelle's excellent post on tracing vintage patterns I was
The pattern came with scant instructions, more an order of work really, but that suits me just fine.
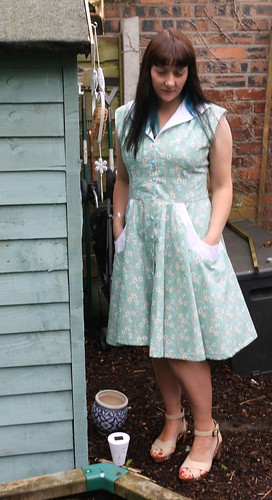
I made no adjustments to the pattern which is a size 40" bust. I expected to have to take in the waist and hips, and looking at the modelled photos I probably could have, but my waist measurement fluctuates from 29-31" in just one day, so I don't like to fit too closely in that area. Plus, lets face it, I'm not going to wear 1950's/60's style corsetry every day, and although I do wear vintage inspired shapewear daily, they don't quite give that nipped in waist look on the pattern illustration.
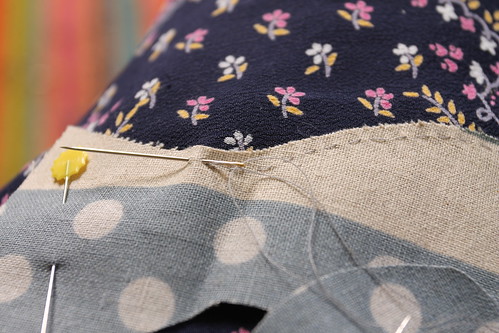
The pockets were constructed in an unusual way, at least I've never made pockets this way before; the side front panels were in two pieces, upper and lower. These pieces were joined and the seam becomes the bottom of the pocket by folding up the bottom piece, which is then secured in place with the side seam, and the pricess seam to the front centre.
The princess seams were tricky as they are square at the top, more fiddly than anything, and I'm not 100% happy with my work on them, though of course only another seamstress would notice, and only then if she was looking really closely, so I will live with them.
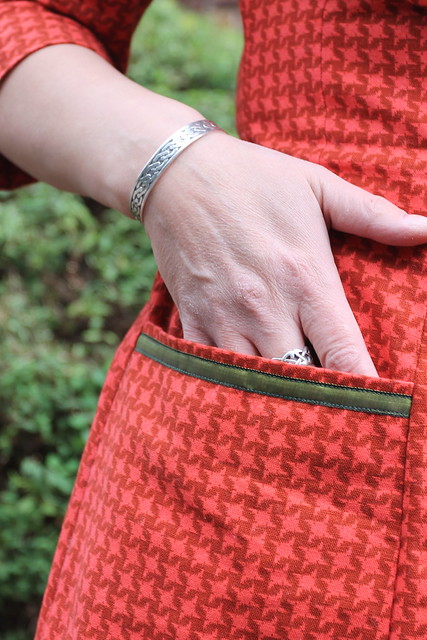
I trimmed the pocket edges and hem with some organdy ribbon.
The zip is an invisible zip and was bought in a charity shop some years ago.
The whole dress cost me less than £10, since the fabric was also bought for around £2 in a charity shop. The most expensive item was the pattern.
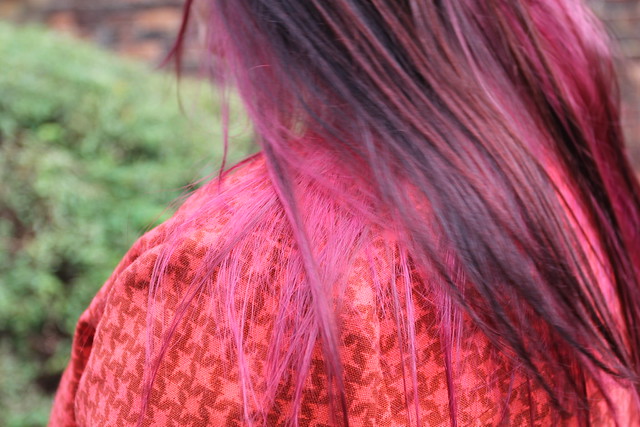
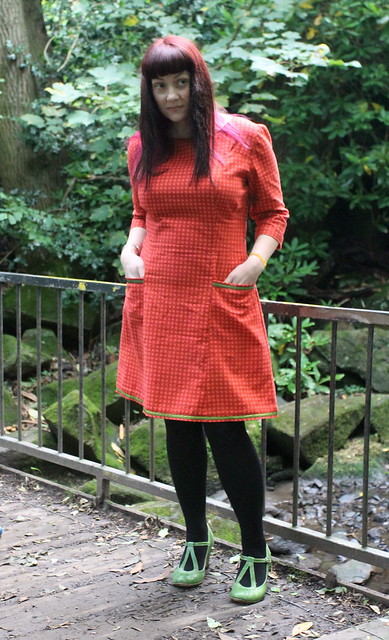
I've really enjoyed taking part in this sew along, and I think I will make this dress again in another fabric, this time a fabric that doesn't clash with my hair...though personally I like orange and pink together!
PS, I did press this dress, most of this photos were taken on a walk after a drive in the car, and this fabric creases!
I haven't had much chance to sew for the past few weeks. The children all went back to school or college, and in some cases new schools. Ernest has started (and loves!) playgroup, and weekends have been taken up with University open days for India.
Today was the first chance I had to work on my dress for Fall for Cotton.
I initially thought I might sew the whole dress using my treadle machine, but I'm simply not practiced enough with the treadle yet, so I took my trustly Lily down to the shed.
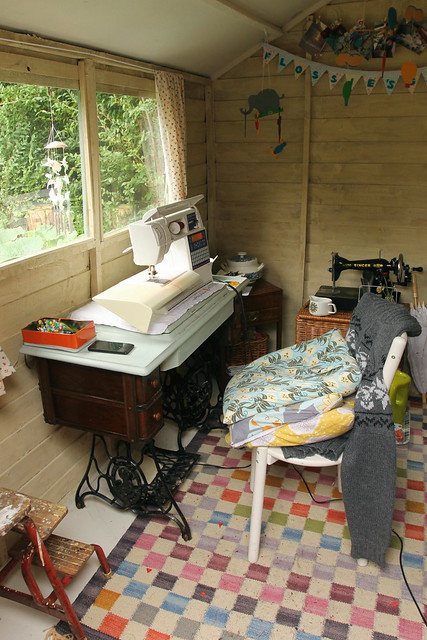
This is the first time I've done any dressmaking in the shed, and it went well, but I need to refine the flow. too many trailing wires and too much mess. I'm sure, the more I work out there, the more I'll learn how to make the space work.
I at least finished my dress.
More on that to come...
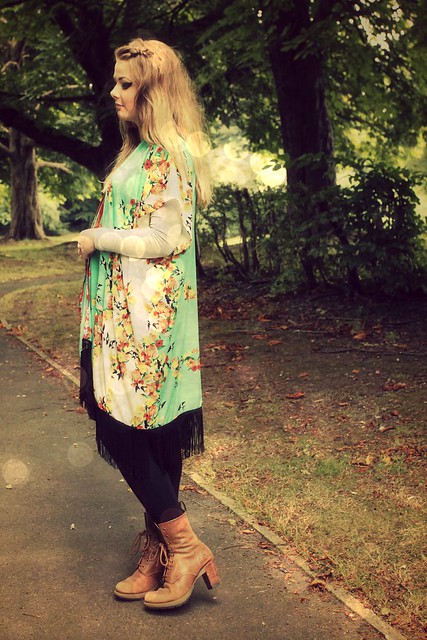
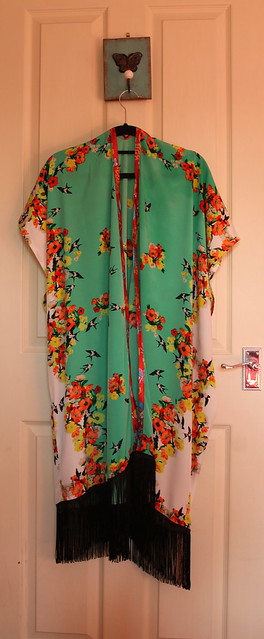
Meanwhile just look at this fabulous kimono made by Hannah Harris using my free Kimono tutorial. I love her choice of fabric, and the addition of pockets.

It's a busy week. In another universe it might be busier still. I'm not really certain how I feel about this being the week Florence would have started school had she survived.

This morning we had a wander around the gardens at Tatton Park. I love the gardens there, especially the kitchen garden. The children all enjoy the maze. Though today only four of them were with us. India is off doing her own thing much more these days, something I should probably get used to.

The idea is to sew something vintage with 100% cotton fabric, even the lining has to be cotton. I actually really like sewing with cotton. The last dress I made is 100% cotton with a 100% cotton lined bodice, so this challenge is right up my street.
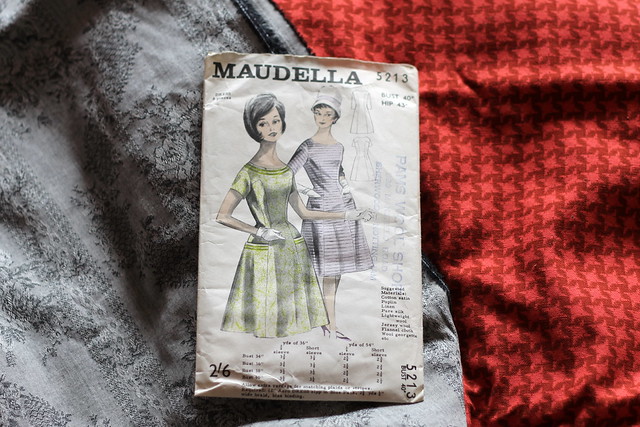
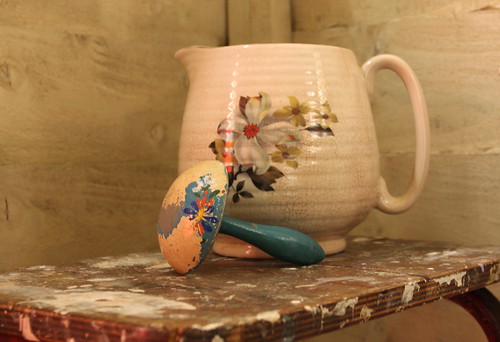
I'm using this pattern I bought recently from Stockport Vintage Village. It looks early 1960's to me, but if anyone knows better, please do let me know in the comments.
I'm currently debating which of the two fabrics in the photo to use.
The grey fabric is a 100% cotton I bought from a local quilting shop. I initially planned an Elisalex dress in it, but I think it might work well for this pattern.
Also pictured is a red/rust coloured cotton I found in a local charity shop. I've done a burn test and it's 100% cotton. I paid only a few £'s for this fabric, and there is lots of it, although it's very narrow. Honestly I'm not crazy about it, but I think it's one of those fabrics that looks better sewn up, and I think it will suit this style of dress, maybe with some nice trim? (Wonder now if non cotton trim is allowed?)
I think maybe I could make a wearable toile/muslin with the red vintage fabric, and use the grey for the final dress, but regular readers will know I have reservations about wearable toiles/muslins already.
Decisions, decisions.....

A really quick and simple make, click here for a free tutorial, or on the linky in the header for more free tutorials.
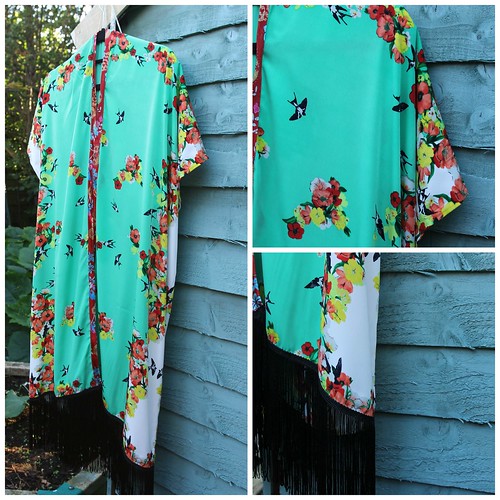
This gorgeous fabric jumped off the shelves and into my arms. a polyester blend with a gorgeous vibrant print. I knew I wanted some to make a blouse or possibly a dress, and India who was with me suggested it would make her a beautiful boho style kimono.
She has had her eye on several over the summer, but never had the spare funds to buy one.
I agreed it would make a great kimono, and we bought some long fringing while we were there.
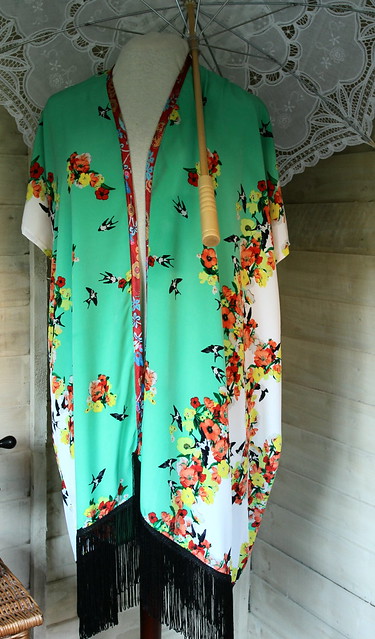
I ran this up yesterday for her. I used some lovely satin bias binding from stash for the front opening.
A simple and satisfying make. I've even written up a quick little tutorial for my readers.
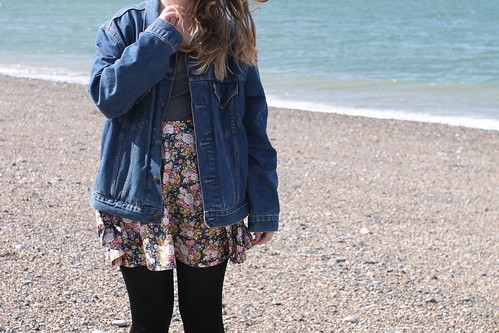
India asked me to make her a skater skirt, she needs new clothes for back to college.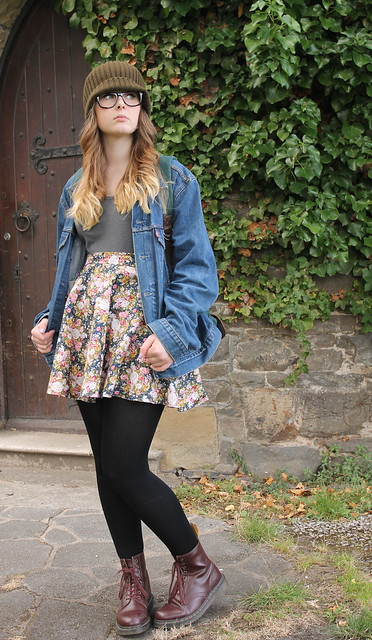
This is 100% cotton, self drafted circle skirt with a waistband, invisible zip and hook and eye fastenings.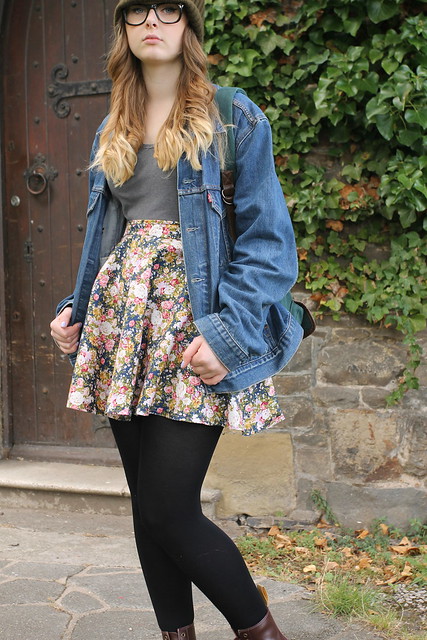
I still need to tweak my circle skirt drafting method, but will practice on a skirt for myself I think.
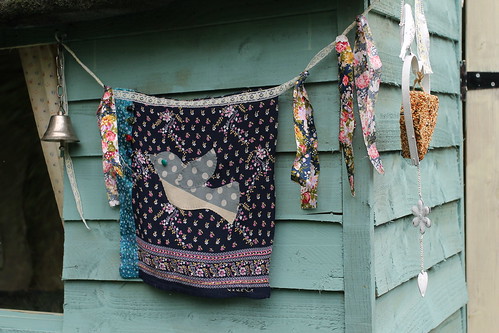
Hung with love and thoughts of all those families around the world missing their children.
If you'd like to know more about the Day of Hope, just click here
The pieces then sat in a little pile mocking me for a few weeks before I next had some time to sew them up. That's when I realised I'd lost the instructions! I must've thrown them away with all the scraps that evening when I cut them out.
I sat on my bedroom floor laying out the pieces and figuring out my order of work as I worked on making sure I tailor tacked everything. No instructions meant I was going to have to rely on pattern markings, the pattern envelope drawings and luck.
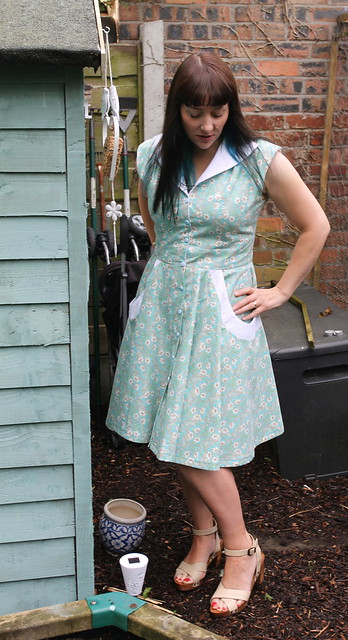
The bodice is lined, and the skirt is made up of four pieces, plus the pieces for the pockets, which have pocket bands, I'll admit that was quite a puzzle with no instructions. I'm not the most spacially aware seamstress. Thankfully, the pattern markings helped me a lot and I figured it out after a bit of head scratching.
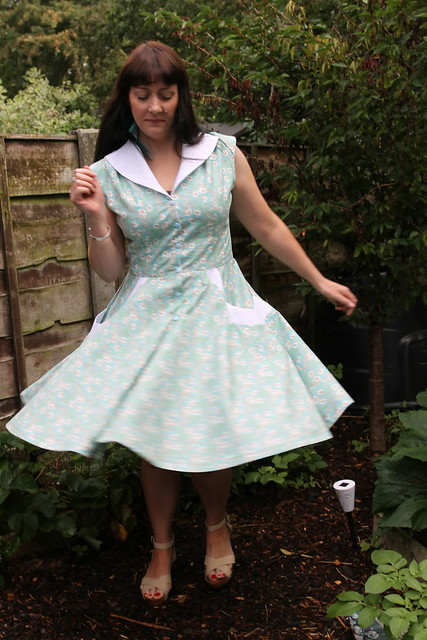
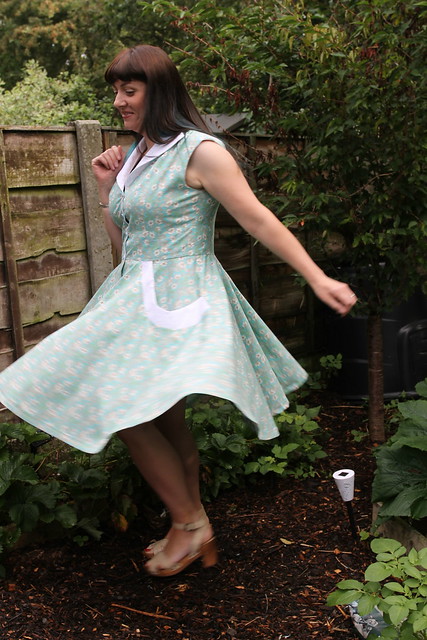
The skirt is super twirly thanks to the front and side panels being circle style, and then the back panel also gathered into the bodice.
The fabric is 100% quilting cotton, with broderie anglais collar and pocket bands.
Overall I'm pretty happy with how this turned out. I don't usually like having my middle aged arms on show, and probably will throw on a cardigan unless I'm feeling super confident or it's very hot.
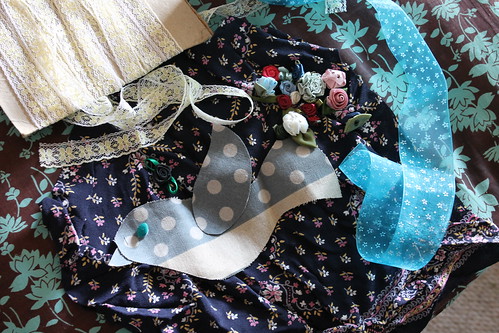
I decided my first project to work on in my new shed should be my flag for Florence.
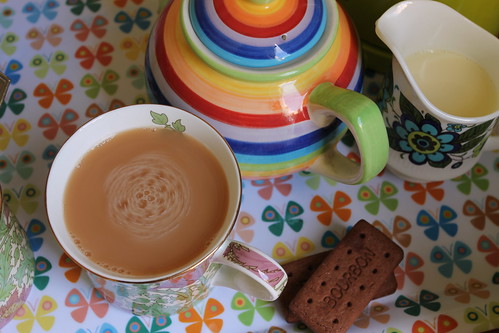
I gathered together my materials, and made myself comfortable; radio tuned to radio 4 a lovely cup of tea and a biccy or two.
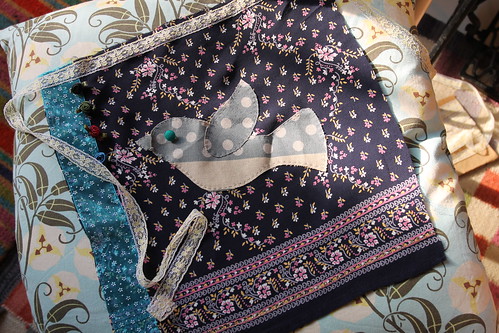
The main fabric used for the flag is a piece of my favourite maternity dress worn throughout my pregnancy with Florence and with Ernest.
Here I am with my Florence bump.

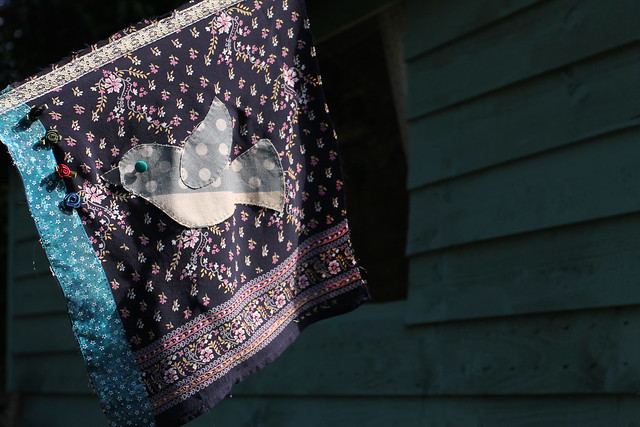
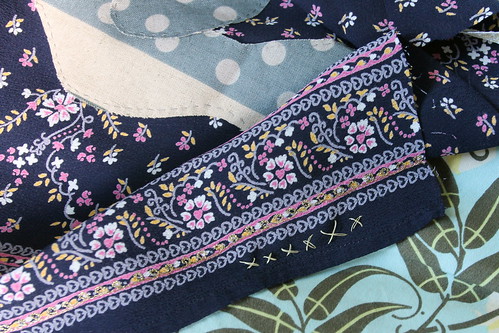
I appliqued a grey dove using a small running stitch. I wanted this project to be entirely hand worked. I enjoy the calm of hand sewing, and wanted this flag to have a delicate fragile quality. I have combined hand stitching with raw edges in the hope of acheiving that.

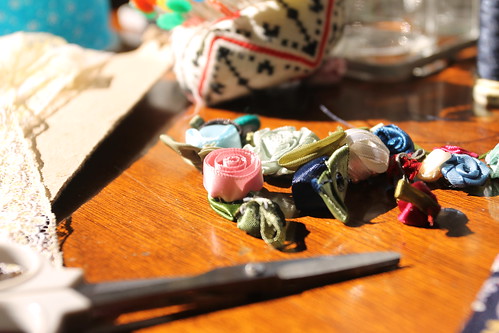
I then added some organza ribbon and four satin roses, one for each year Florence has been gone.
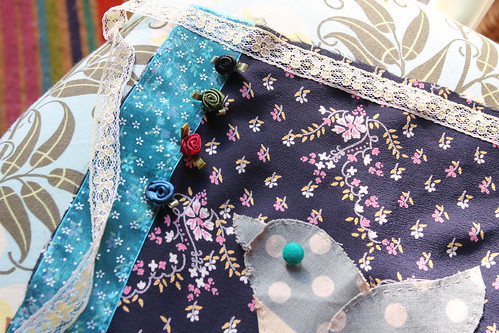
I also added some lace across the top edge to hang the flag.
Any finally six little rustic kisses, one for each of my children, and the way I sign letters and cards.
Next Monday I will hang the flag, and take photos for the Prayer Flag project.

I got up at 6am this morning to finish painting the floor of the shed. The chickens were rather bemused by my early morning diy, and it seems so was one of the local cats because at 9am I found little paw prints across the floor when I went back to finish off the second coat!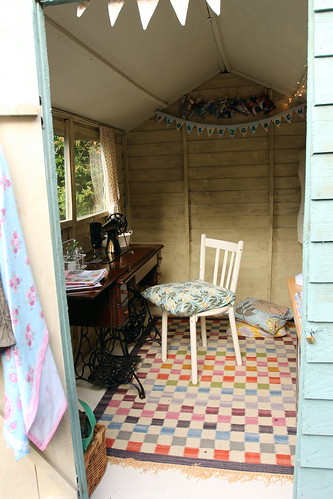
The floor was dry enough by late afternoon to start moving in! 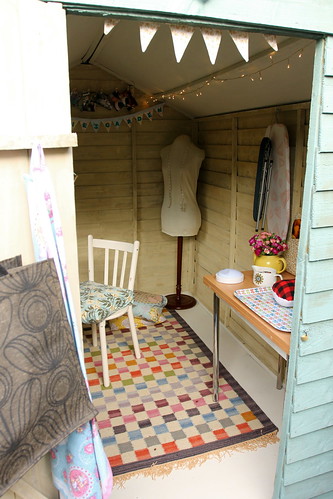
I've moved my beautiful Singer treadle in. I still intend to paint the table top, maybe I'll get that done this week.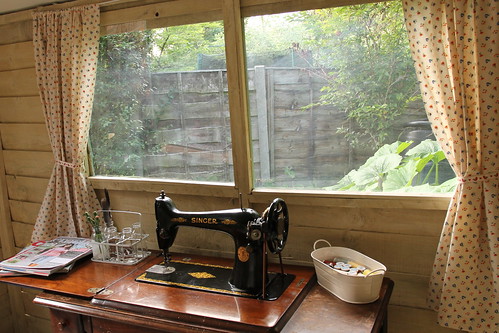
I ran up some simple curtains in some pretty cotton I'd bought in a charity shop a few months ago, using ribbon as tie backs.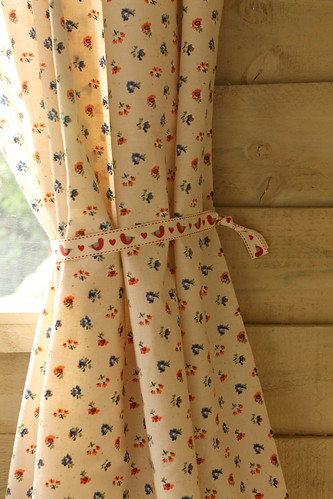
I've hung bunting and fairy lights and a few photos too. 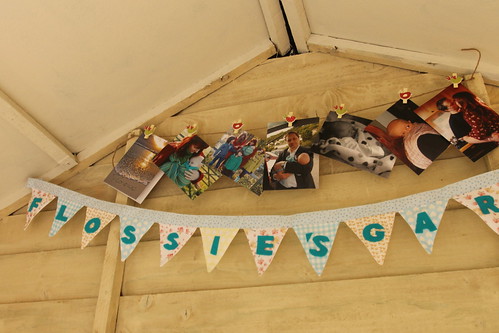
I'm going to be on the lookout for a little shelving unit or cabinet in my local charity shops, something to house the inevitable bits and pieces that will accumulate.
This weekend it's project "sort out the power and security". Oh yes and buy a kettle!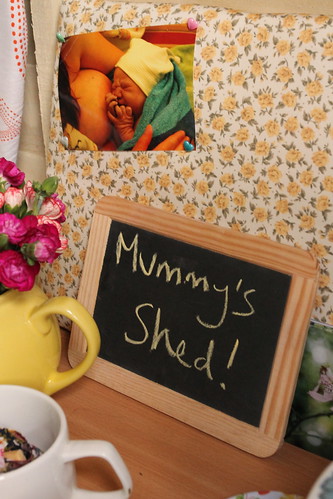


I was so pleased though with my Fall For Cotton dress that I had to make another straight away.
The pattern goes together so neatly and quickly with no alterations needed, but it's also so easy to wear. I love the practical three quarter length sleeves and the length and shape of the dress make it comfortable and fuss free. I can just chuck it over some tights add some boots and maybe a cardy, and of course there are pockets. I love a dress with pockets!
The fabric I've used for this dress is 100% cotton, and has a woven floral stripe design. I had to do a bit of careful cutting to make sure the pattern worked.
I cut the main stripe design down the centre front and back panels, and ensured each side front and back were cut to match each other.
I also made sure that once the pockets were complete the stripe pattern matched up on each side front panel.
The trim is a grossgrain ribbon from stash. The fabric is quite lightweight and ideally I think I should have lined it, but the ribbon along the hem helps to weigh down the cotton. (And I just pop a full slip underneath to stop some of the cling.)
I'm almost completely happy with the concealed side zip, just seems to be a teeny bit uneven at the top. I was certain it wasn't, but this photo says otherwise.
Of course one problem with 100% cotton is the creases! I promise you this dress was pressed, but we drove to Hare Hill to take these photos and by the time we got there I was a crinkly mess, despite being super careful trying not to move too much. Maybe I should have just worn my undies in the car and put the dress on when we arrived! That might've given the National trust employee on the gate something to look at!
Hare Hill is such a lovely peaceful place to visit. We hadn't been there for a long time. I'm not sure why, it is such a pretty place.
The drive in was interesting as a herd of cows were blocking the path, many of them only calves, and so so pretty.
Wish I'd managed to get some photos of them, but I didn't want to spook them.
Woody was mostly in charge of the camera anyway, so I was snapping away with my phone. I managed to get this lucky shot of the sun coming through the autumn leaves.
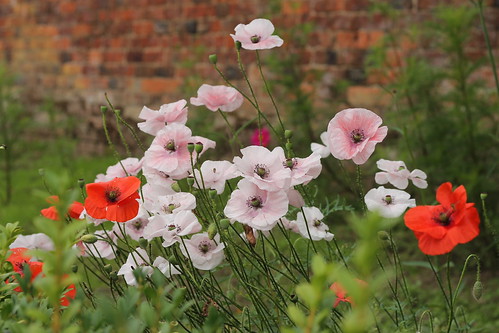
And when I did get hold of the camera managed to grab a few shots of the flowers in the walled garden.
Sadly, we only had a brief walk. Angus and Sid were reluctant to even come along, and had already been bribed with cake, but their patience (and mine!) was running low, so we left before everyone got cross with everyone else.
Woody and I have made plans to head back there soon though, this time with a flask of hot chocolate and without the grumpy children!